![[DOOR FLIES OPEN]](https://doorfliesopen.com/wp-content/uploads/2015/08/DFO-MC-Patch.png)

Guten tag, Commentists.
Welcome!
Today we will once again take a culinary visit to one of my favorite food origin countries, Germany!
We’ve been down this road a couple of times already. What, with the Jagerschnitzel and Spätzle.
There was also an early recipe for German Goulash that is worth your time and effort and also features some early rudimentary food photography. Jesus, man! Fix that dark background shit next time!
Today we are going about as old school traditional German as possible. Today we are making Sauerbraten with Kartoffelklöße (potato dumplings.)
Fun German note: that “ß” that you see is called an “Eszett” and is a character used to replace the combined letters of “SZ” or “SS” when they occur in a word. Technically you can call the dumplings “kartoffelklosse” but the “ß” just looks more badass and German.
So, Sauerbraten.
This translates to “sour roast meat.” The sour comes from the fact that it’s basically a pickled pot roast. History says that this was – obviously – a way to preserve meat and the VERY traditional meat used was…
Horse.

Don’t sweat, we ain’t cooking Seabiscuit’s ass today. Although, horse is still used in this dish today in some regions of Germany.
Some origin stories trace the invention of sauerbraten back to Charlemagne in the 9th century AD, when the marinating technique was used as a way to tenderize and utilize leftover hunks of meat.
The basic thing is, the meat is marinated for DAYS in a combination of red wine, red wine vinegar, onions and pickling spices. Today’s dish was marinated for four entire goddamn days before cooking.
Don’t worry, it’s not labor intensive. You just can’t be in a fucking hurry for this.
If you’re wondering “Why in the blue fuck would I eat a sour pot roast?” Then you obviously haven’t tried a well made sauerbraten. The combination of meaty goodness, tangy wine and a sweet and sour gravy is fucking magnificent. To the uninitiated it IS a little sour but goddamn. So fucking delicious.
You know how we offset the tartness of the meat?
By adding gravy that has GINGERSNAPS in it!
Cookies in your gravy?

This one I have made a few times in the past and apart from taking up space in your fridge for the better part of the week, it’s pretty simple and worth the effort.
Shall we?
Let’s!
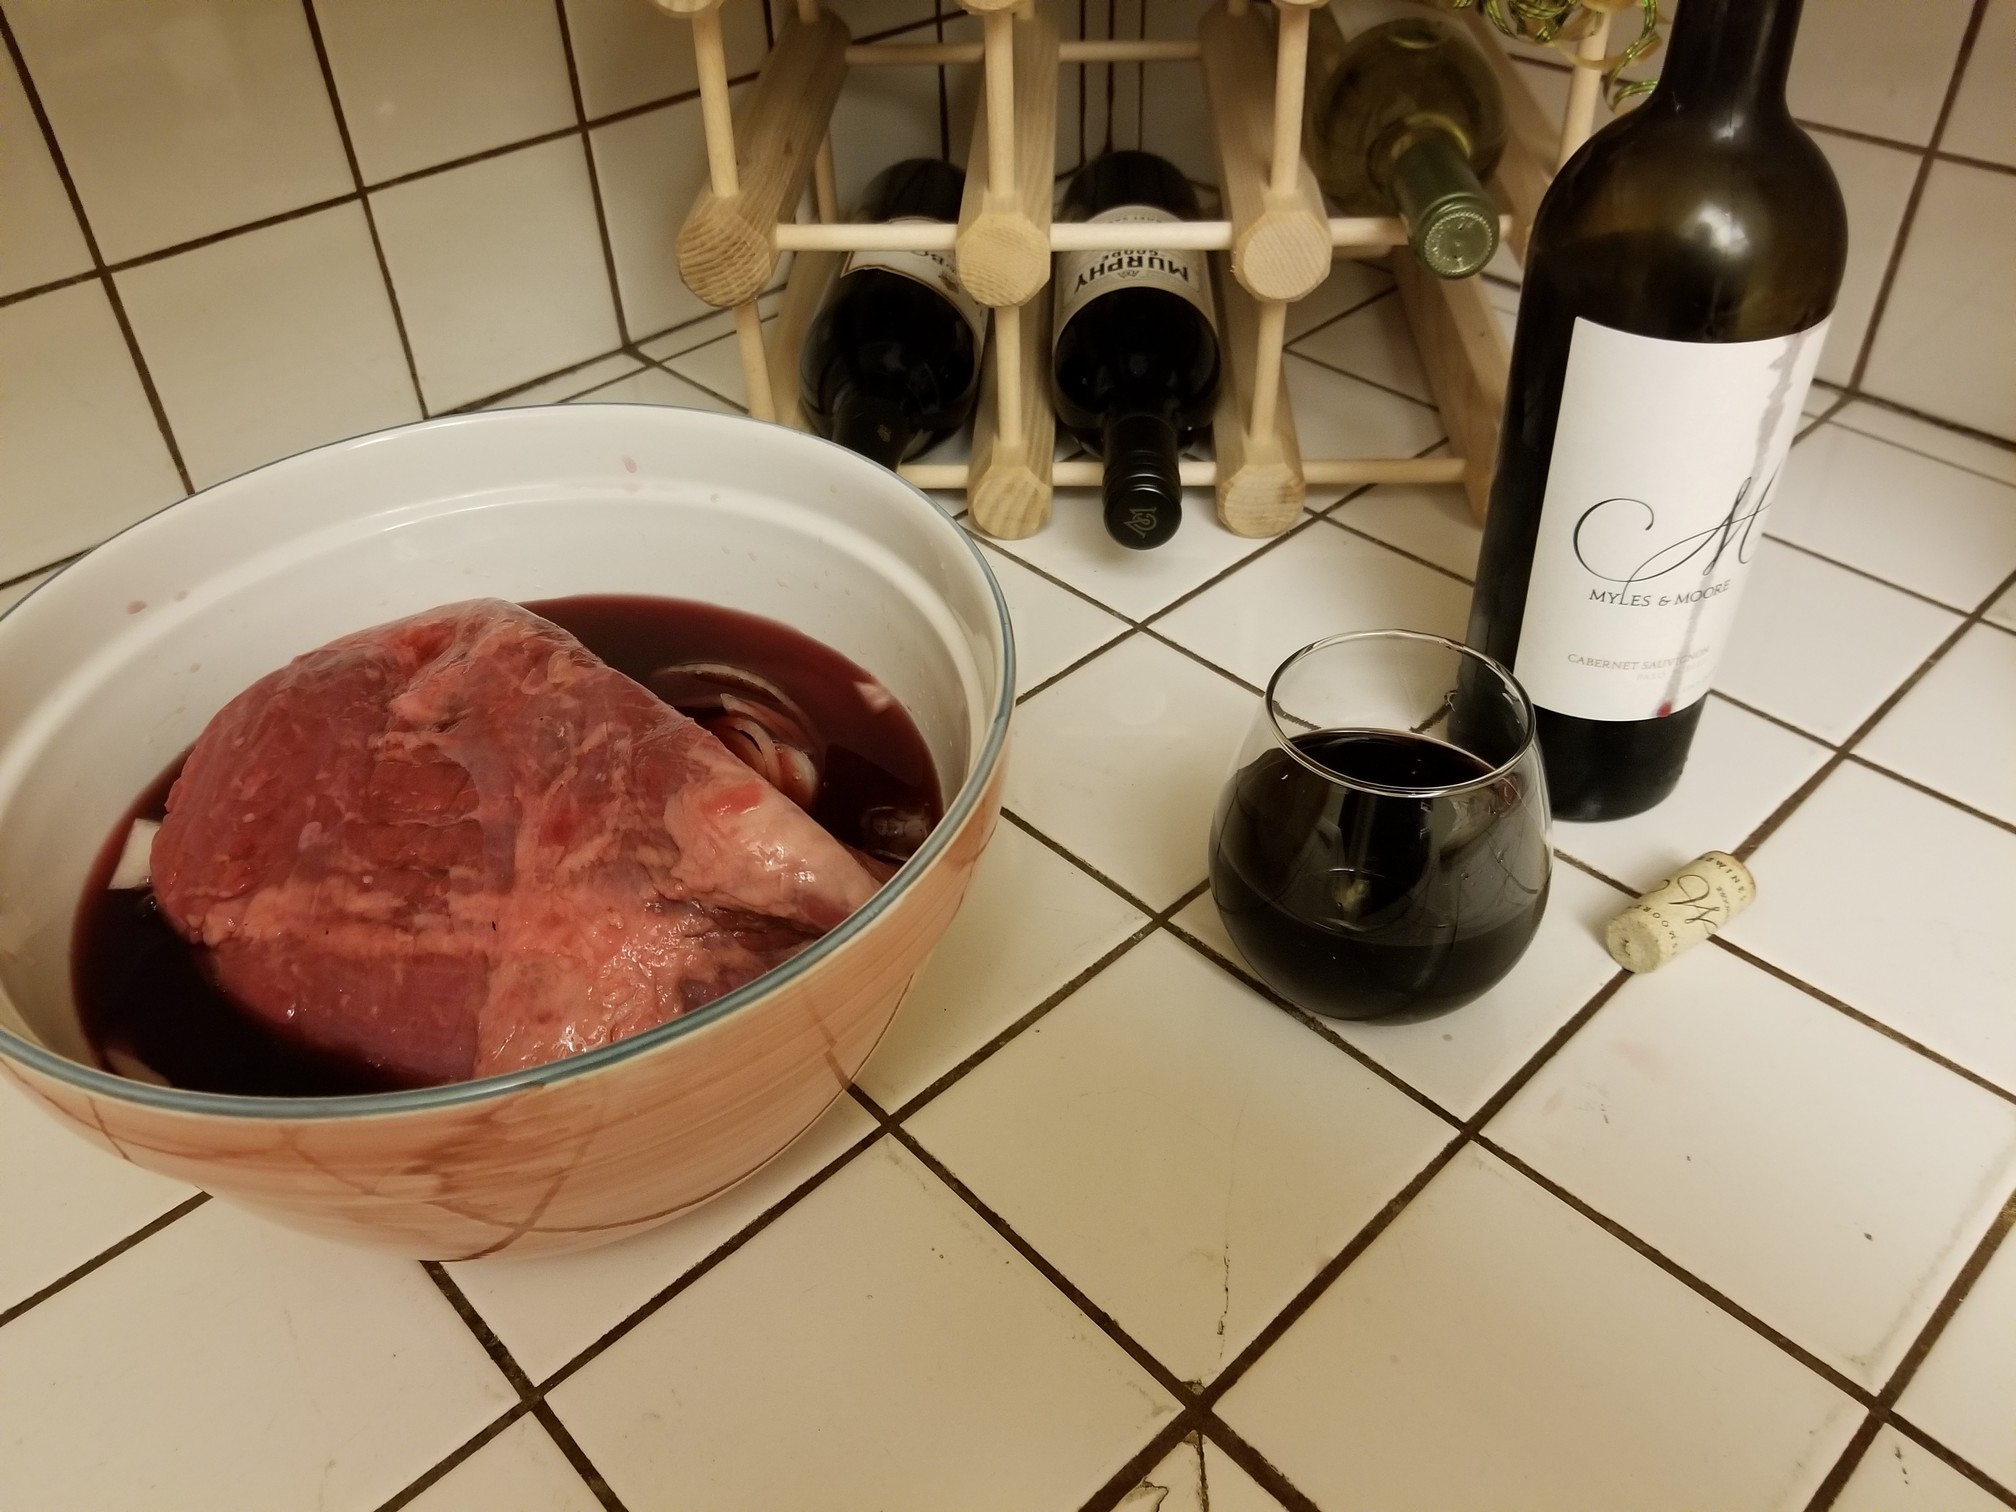
You’re going to need a good size vessel to marinate your meat in. Something plastic, glass or earthenware but not metal.
Yep, reactivity from the wine and vinegar with the metal. Well done folks.
I used a big ass ceramic bowl for this.
You know what would also work? The crockery from a crock pot. Just remove the crockery from the heating element, add in the roast and the marinade and cover with plastic wrap! It’s genius!
I used a 3 pound bottom round of beef for this. You actually want a little tougher cut for this dish to hold up to the duration of marination. Chuck roast might be a little too fatty.
For the marinade!
I’m going to wing it here since I didn’t use a formal recipe and just went by past experience.
About a cup of wine. I used a cabernet sauvignon and as the above photo attests I drank the rest of the bottle. Obviously use a quality wine for this.
1 cup of red wine vinegar.
About 2 tablespoons of sugar.
A handful of peppercorns – maybe 20-25?
3 bay leaves.
1/2 tablespoon of dried thyme.
1 tablespoon of cardamom – optional but I had some in the spice cabinet.
10-15 whole cloves.
1 tablespoon of allspice. If you have whole allspice berries use them instead. I used what I had on hand.
Enough water to almost cover the meat.
2 large onions – sliced.
Put all of the ingredients except the roast and the onions in the bowl and mix to combine. Next put in the roast and then add the sliced onion over the top.
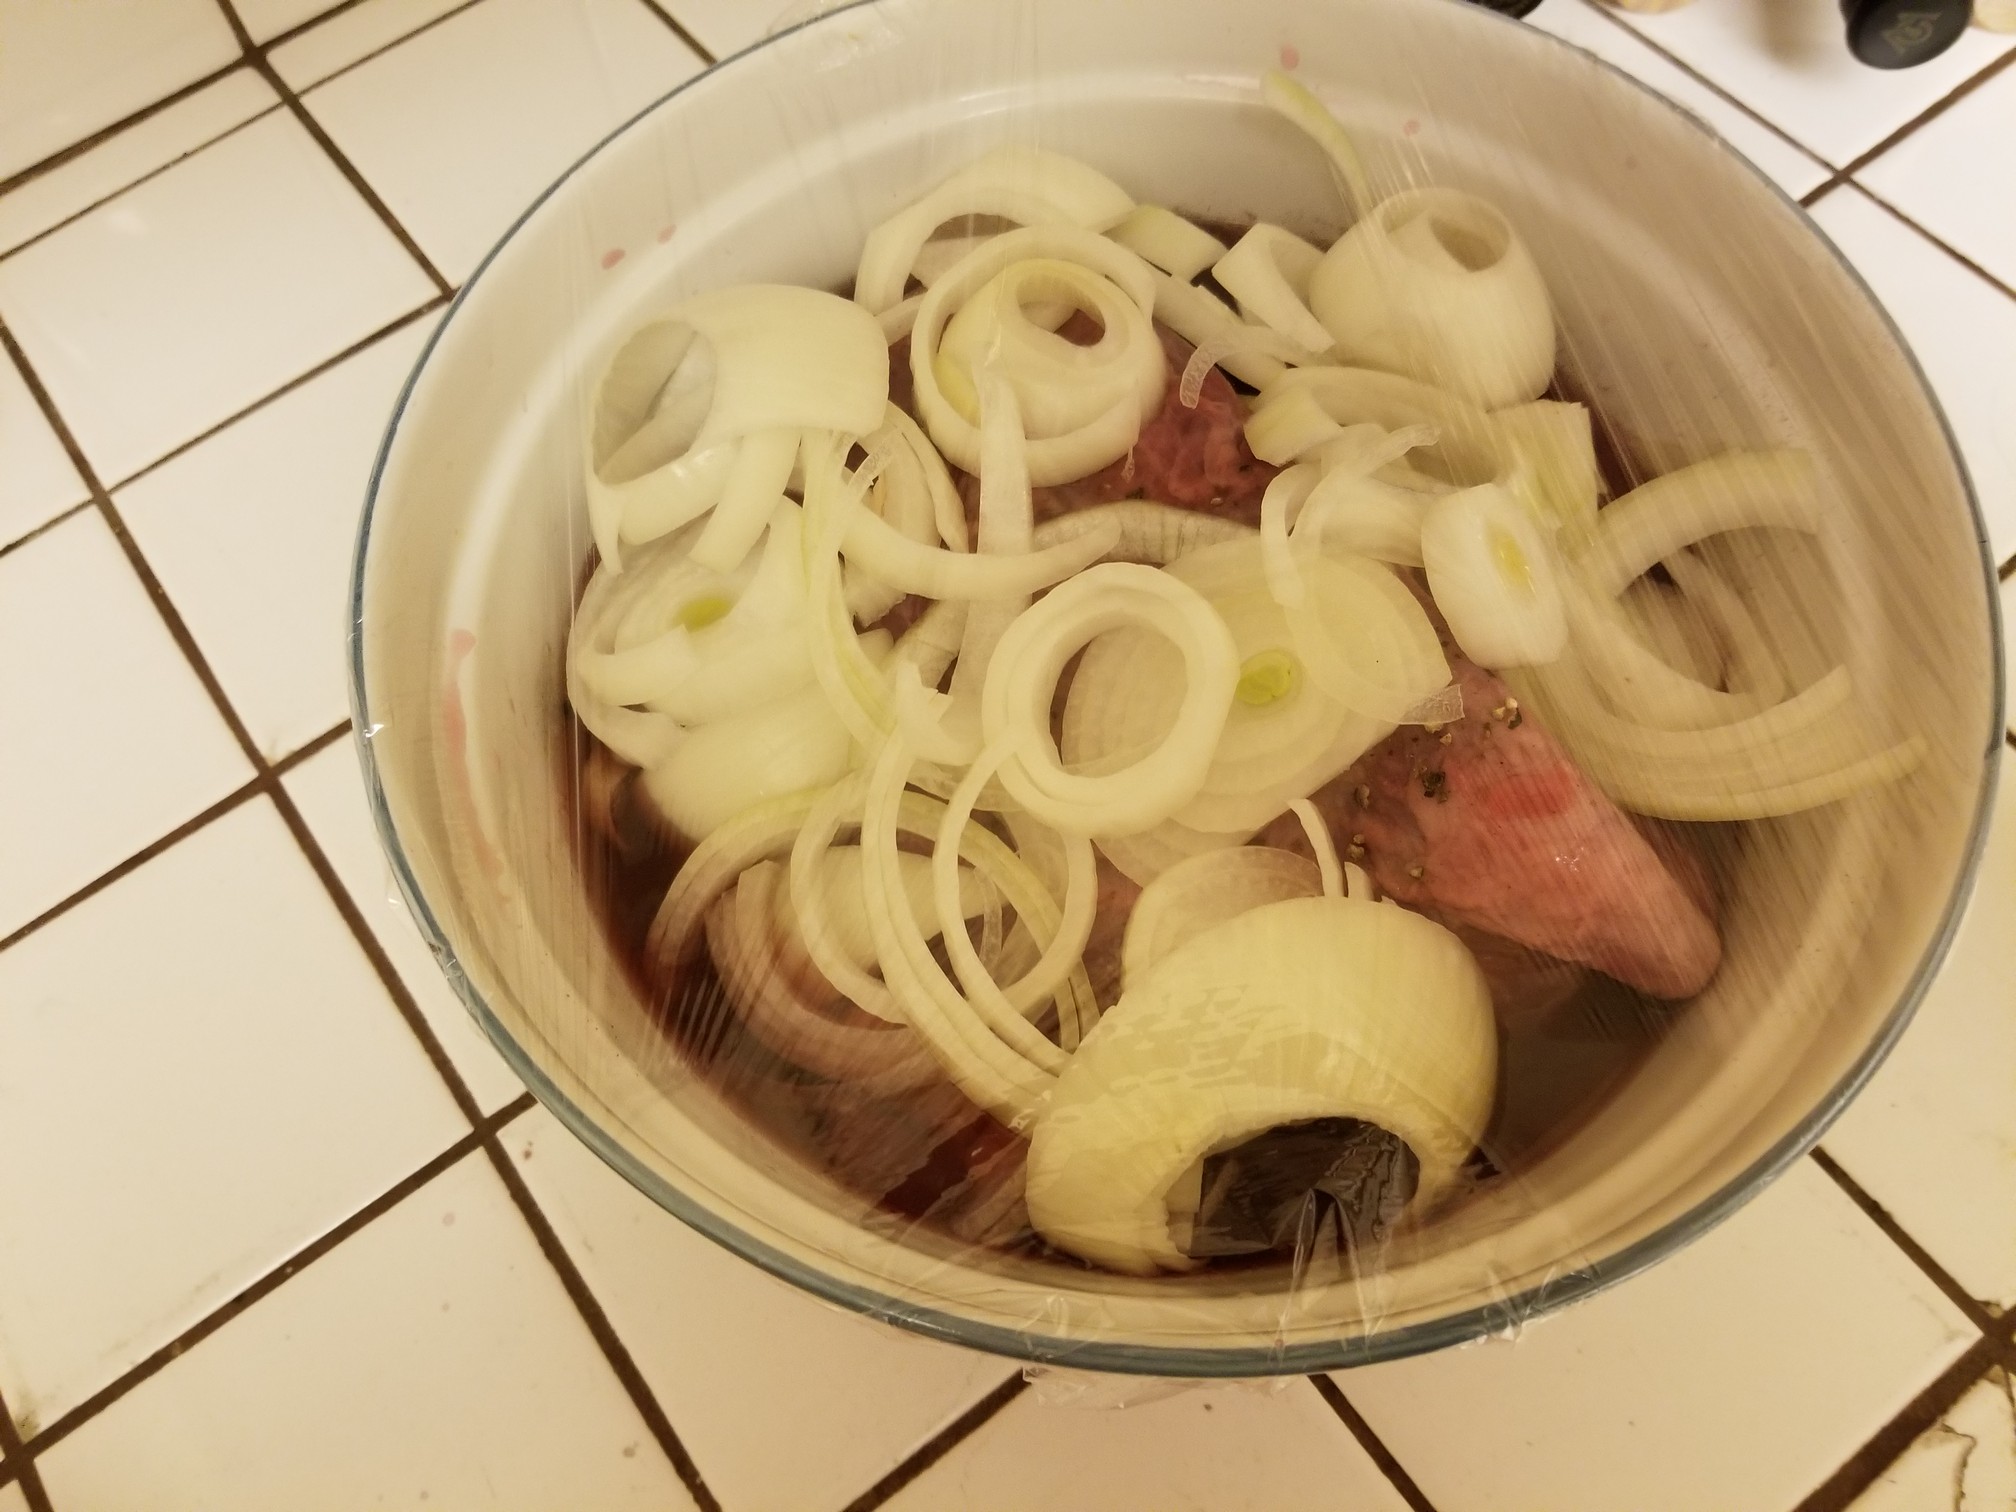
Cover this TIGHTLY with plastic wrap and sock away in your refrigerator for oh, about 4 goddamn days, turning the meat over twice a day. You can go as few as 3 days and up to 5 days. After five days the meat would be a little too intense and as you will see the texture of the cooked meat will be altered and a little different than any pot roast you’ve ever had.
You know why we cover this tightly with the plastic wrap?
If you don’t, your refrigerator will smell like wine, vinegar and onions and so will everything else in it. But if that’s your thing…
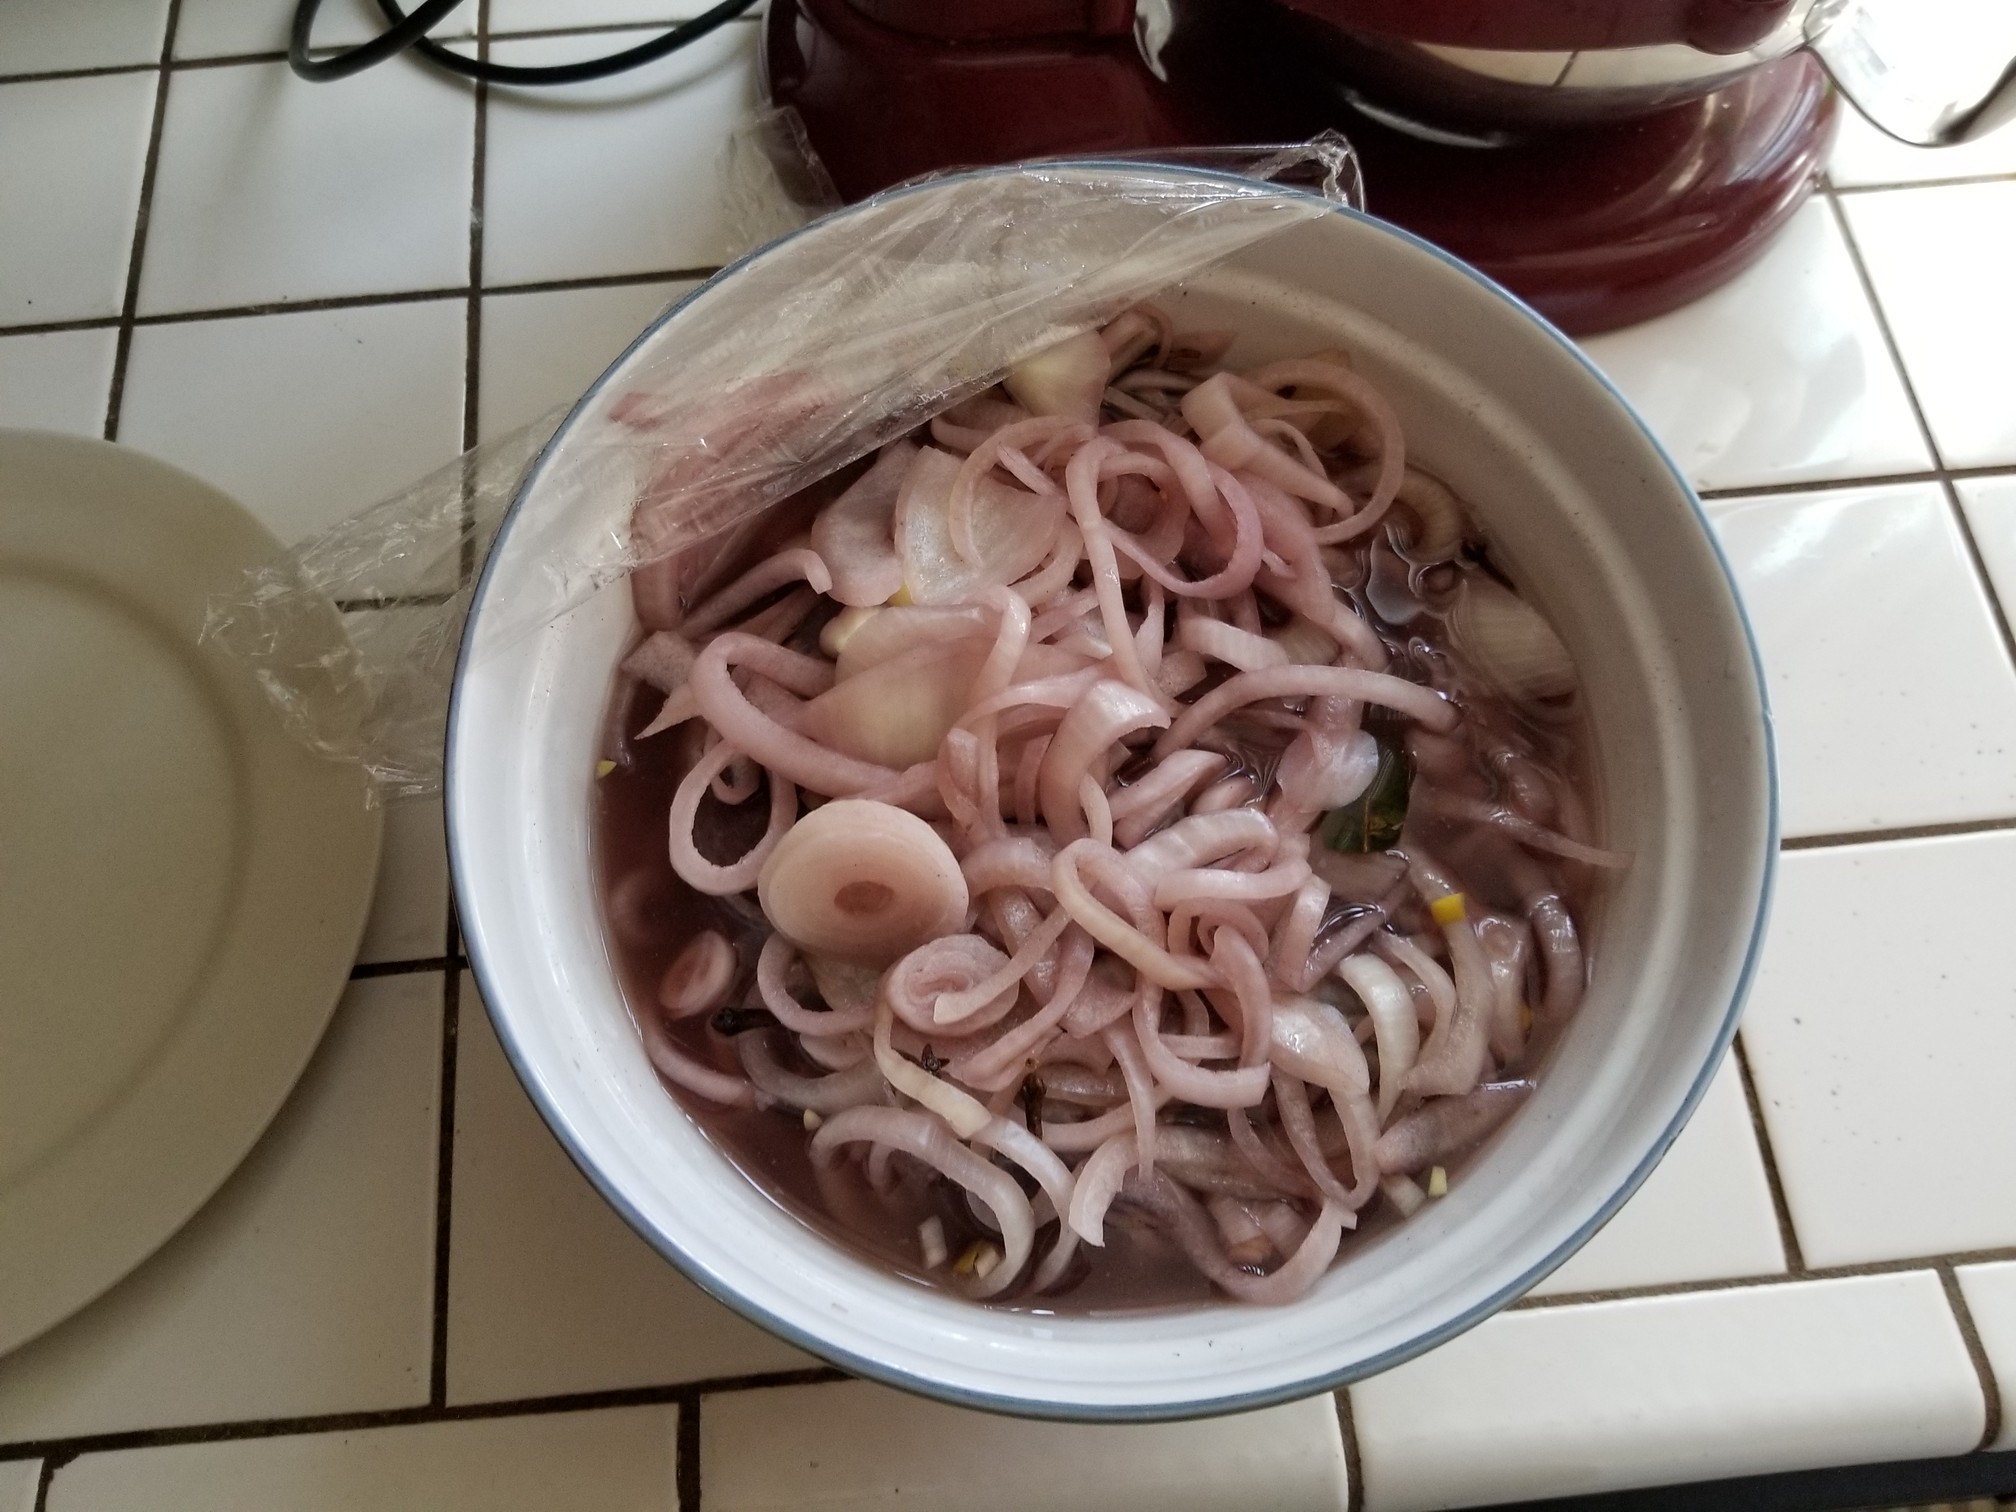
At the end of the four days you will see a very different and infinitely more purple marinade and roast.
And here is the meat.
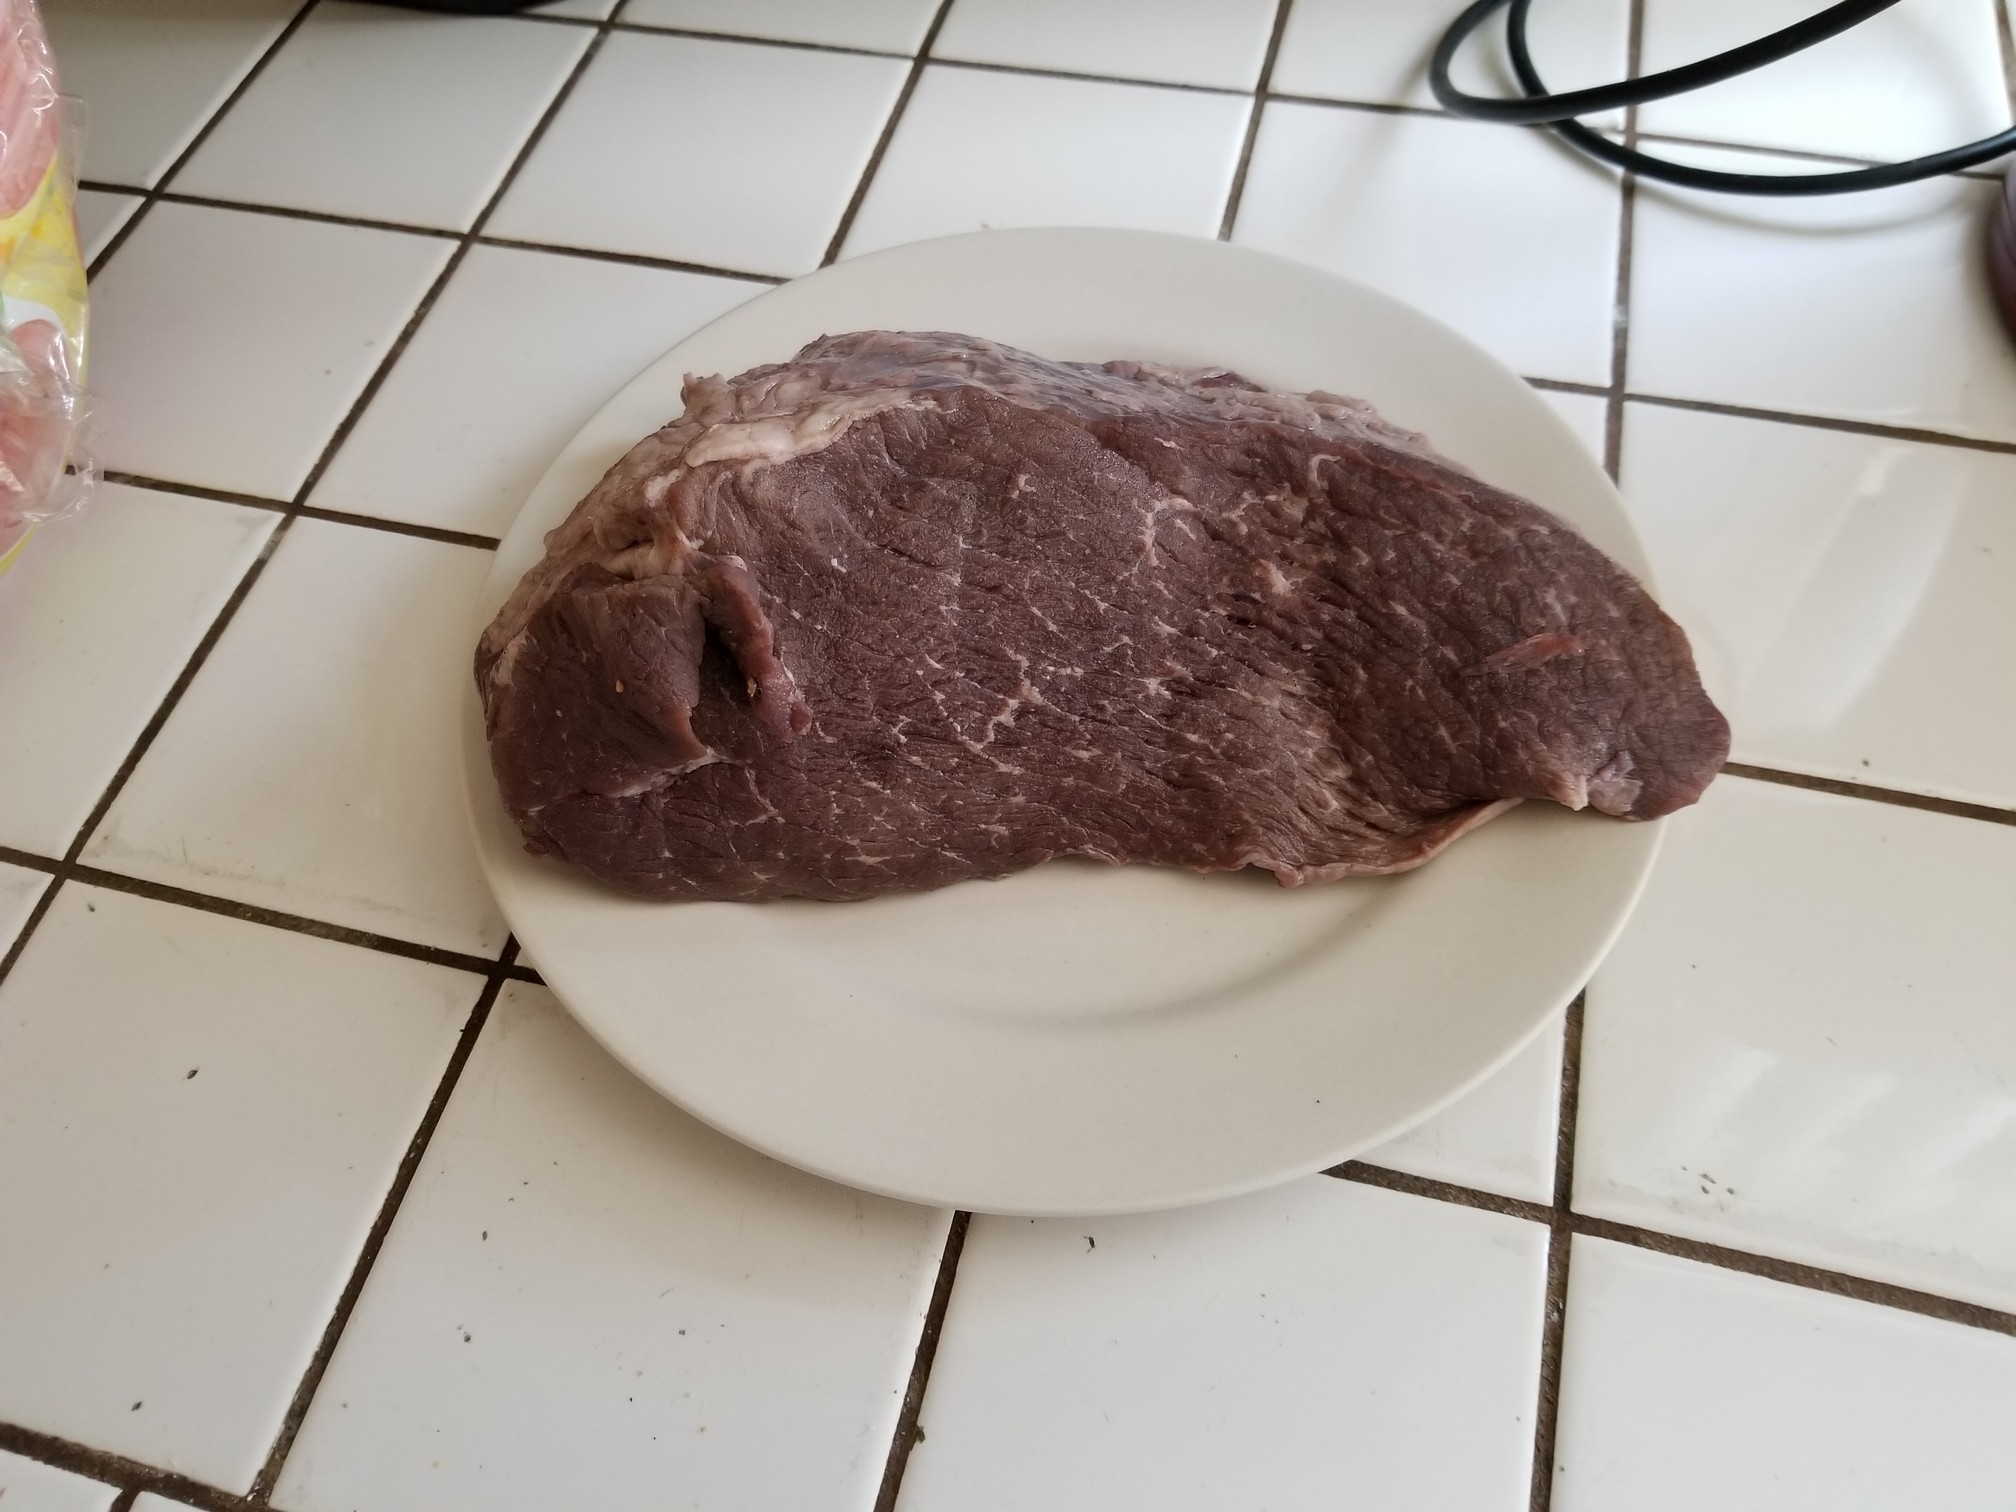
No, that is not some gnarly-ass internal organ. That’s a well marinated slab of bottom round.
Here’s a fun thing. That marinade that’s been saturating a slab of cow for four days? We will NOT be discarding it. Nope. This will be the cooking liquid as well!
Don’t give me that look. This fucker is going to cook for a long time, not to mention it has wine and vinegar and no self respecting bacteria would have a fucking chance of surviving those conditions.
Strain the marinating liquid to remove the onion and the whole spices.
Get out your trusty Dutch oven and place it over a medium heat on your stove top.
Heat your oven to 325 degrees.
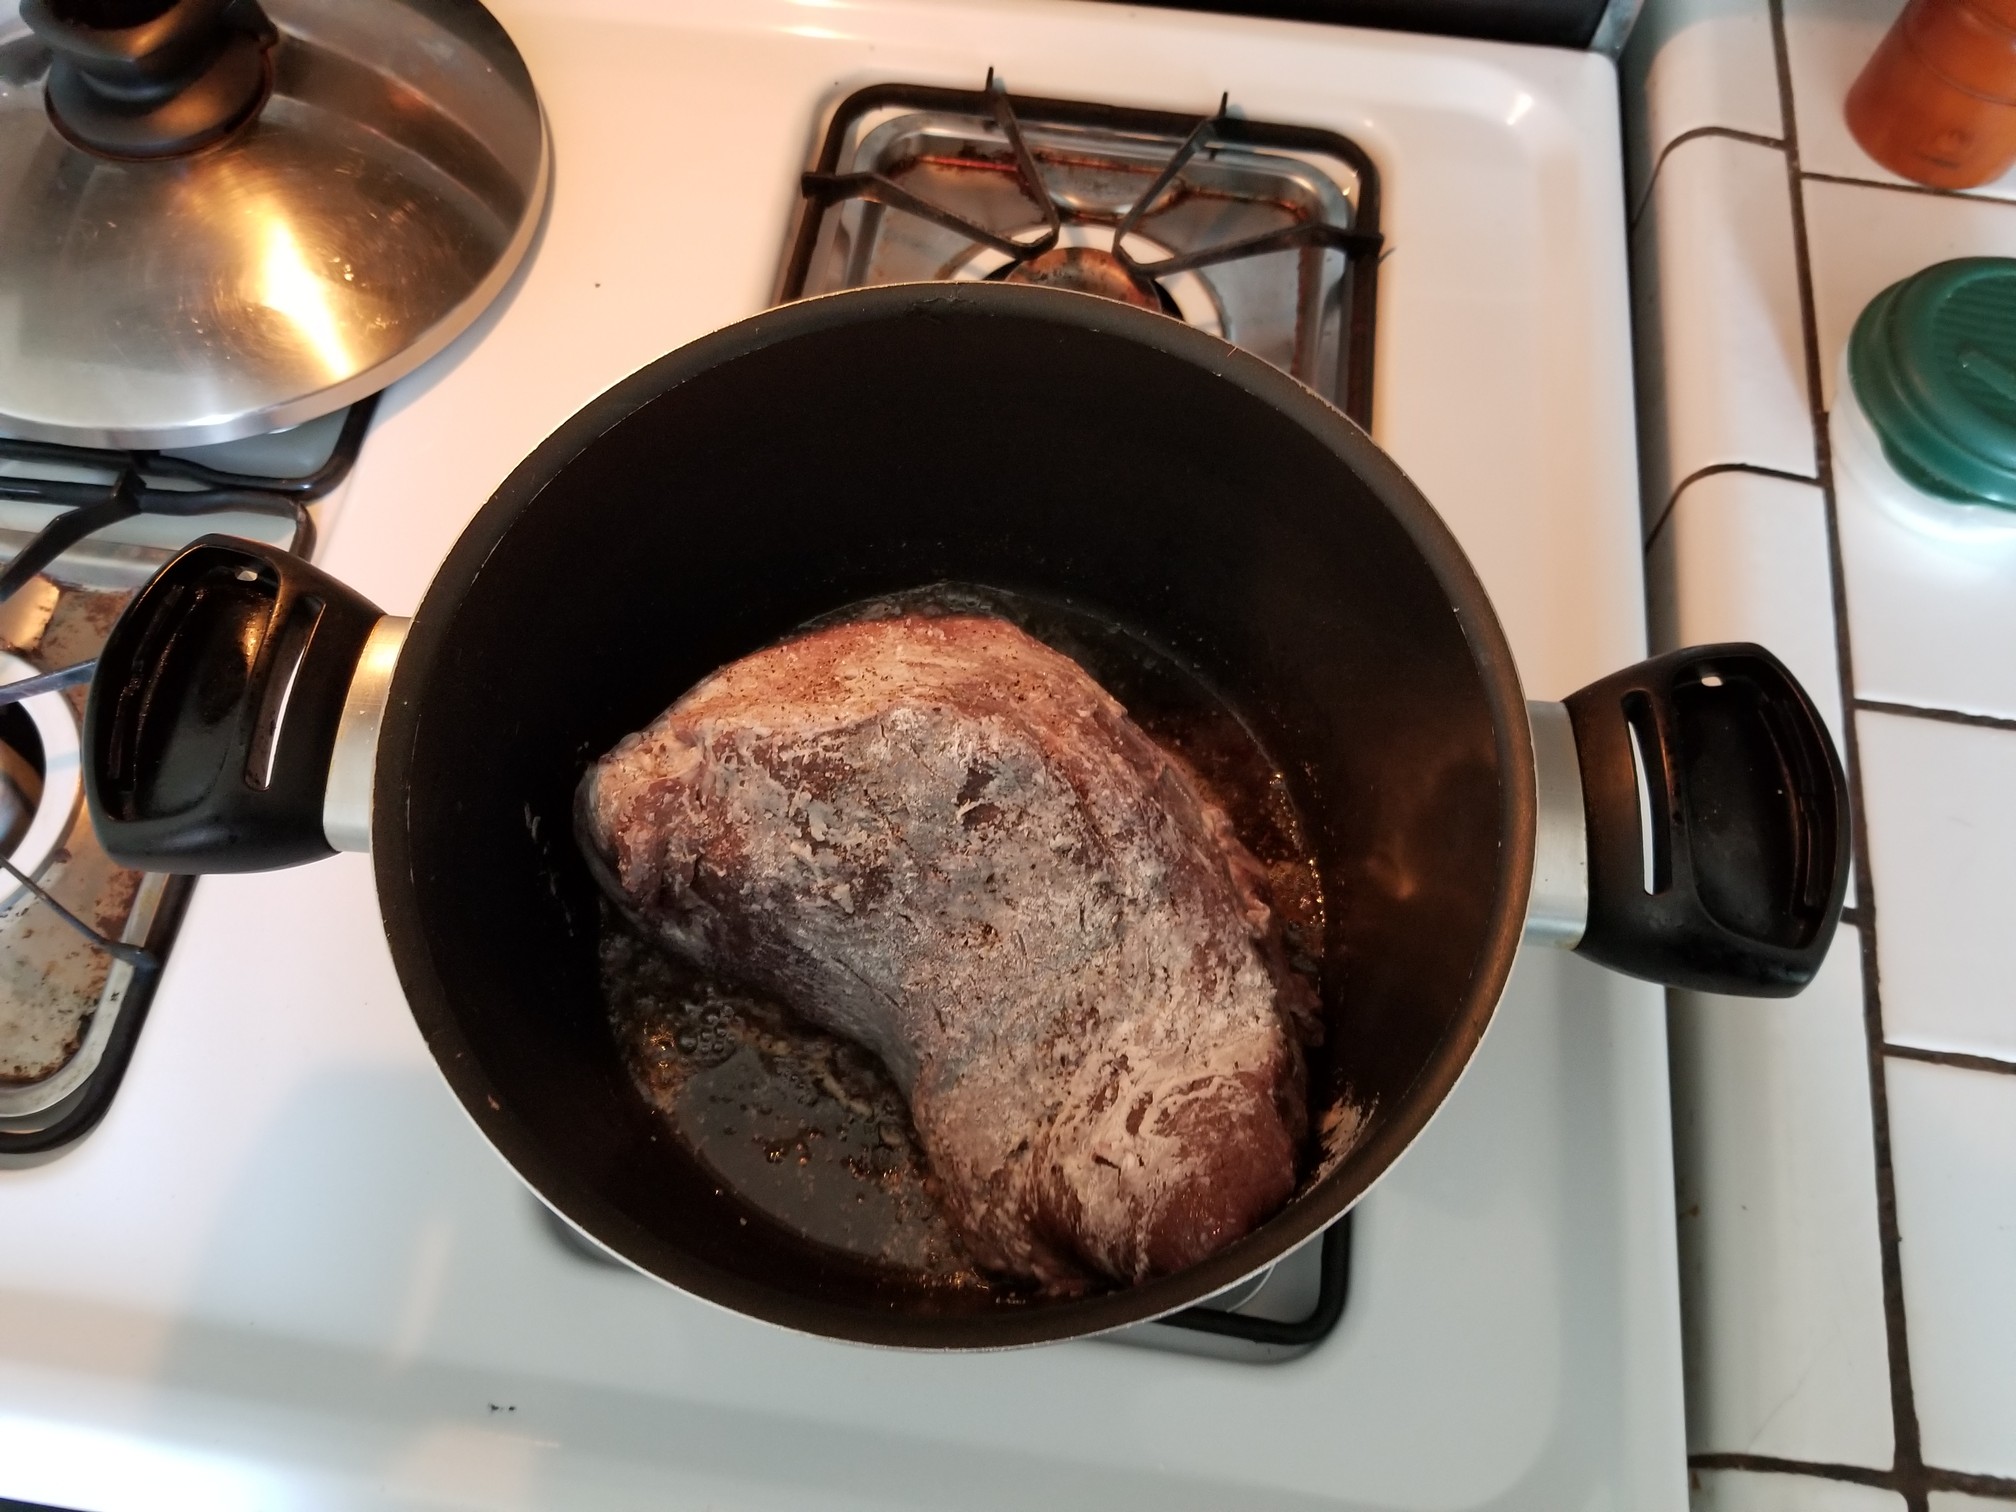
We will now lightly flour the marinated roast.
Put about 2-3 tablespoons of cooking oil into the heated pan. Next add in the floured roast and brown on all sides. About 5-7 minutes per side. You can season the roast with some salt and pepper while it browns.
Remove the browned meat from the pot and let’s deglaze the pan with another pour of some red wine. Use a wooden spoon to scrape up the cooked crispy bits.
Put the roast back in the pan. Next we will be adding the strained marinade back to the pot. Add in some salt and a few more grinds of black pepper. Maybe a teaspoon of each.
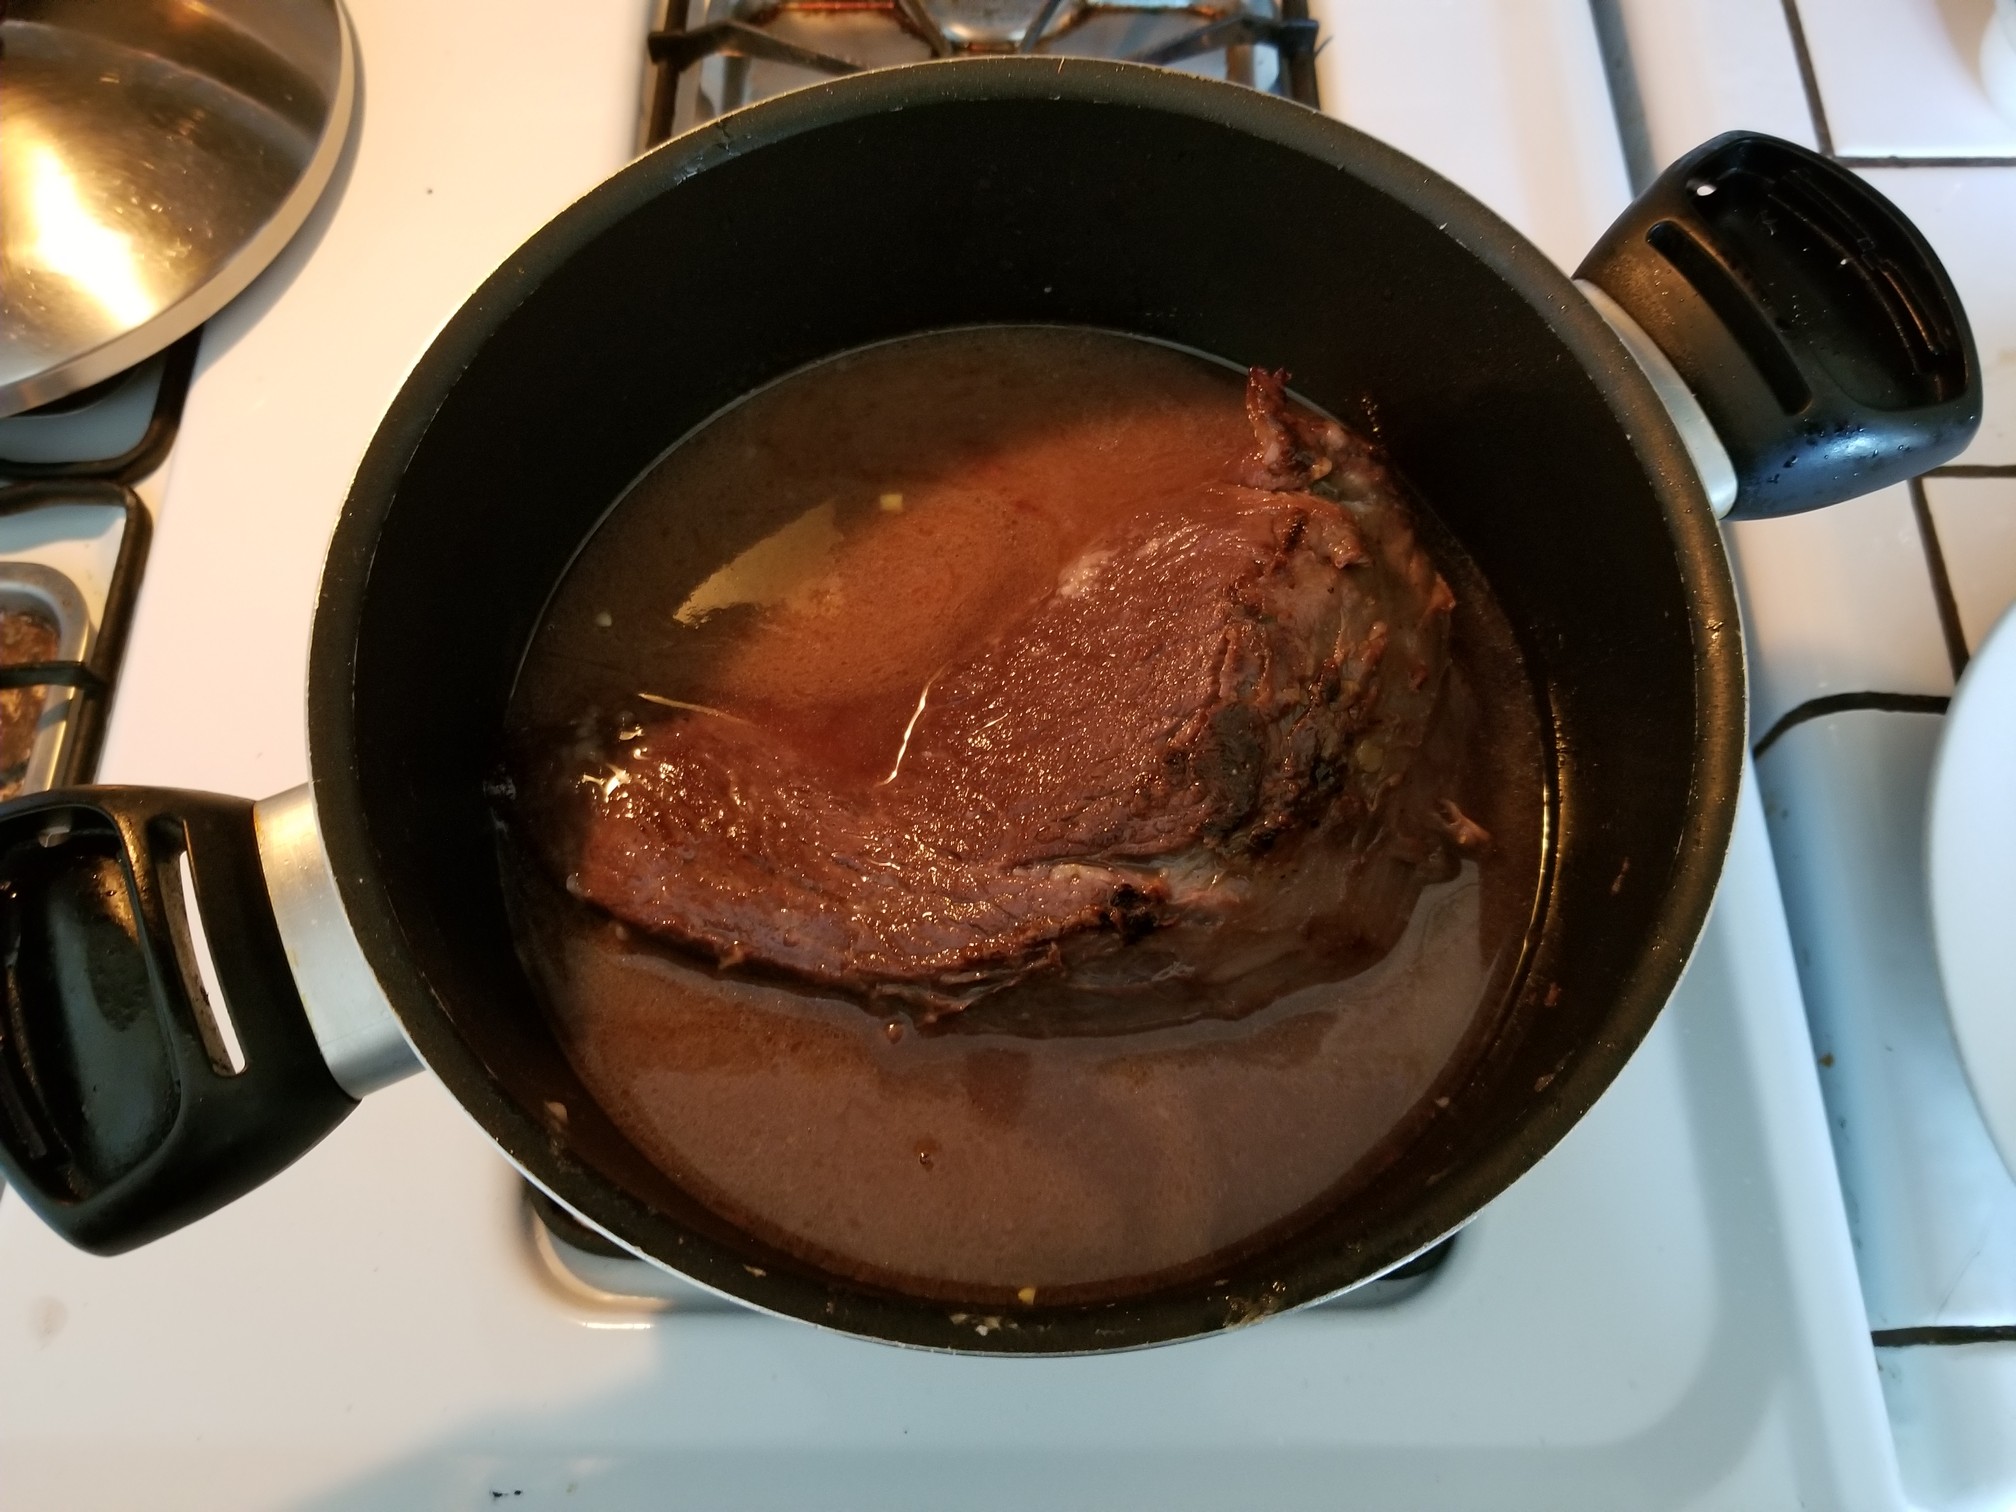
Place a lid over the top and let’s cook!
You have the option here of simmering directly on your stove top over a LOW heat for about 3 hours. The advantage of this method is you can baste with the sauce as well as flip the meat over as your heart desires. If you choose this method you don’t need to pre-heat the oven.
Or, place in the pre-heated oven and let cook for about 3 hours undisturbed. The advantage to this method is you can walk the fuck away and leave this shit alone to do it’s thing.
I chose the oven method.
When the three hours are up your roast should look something like this.
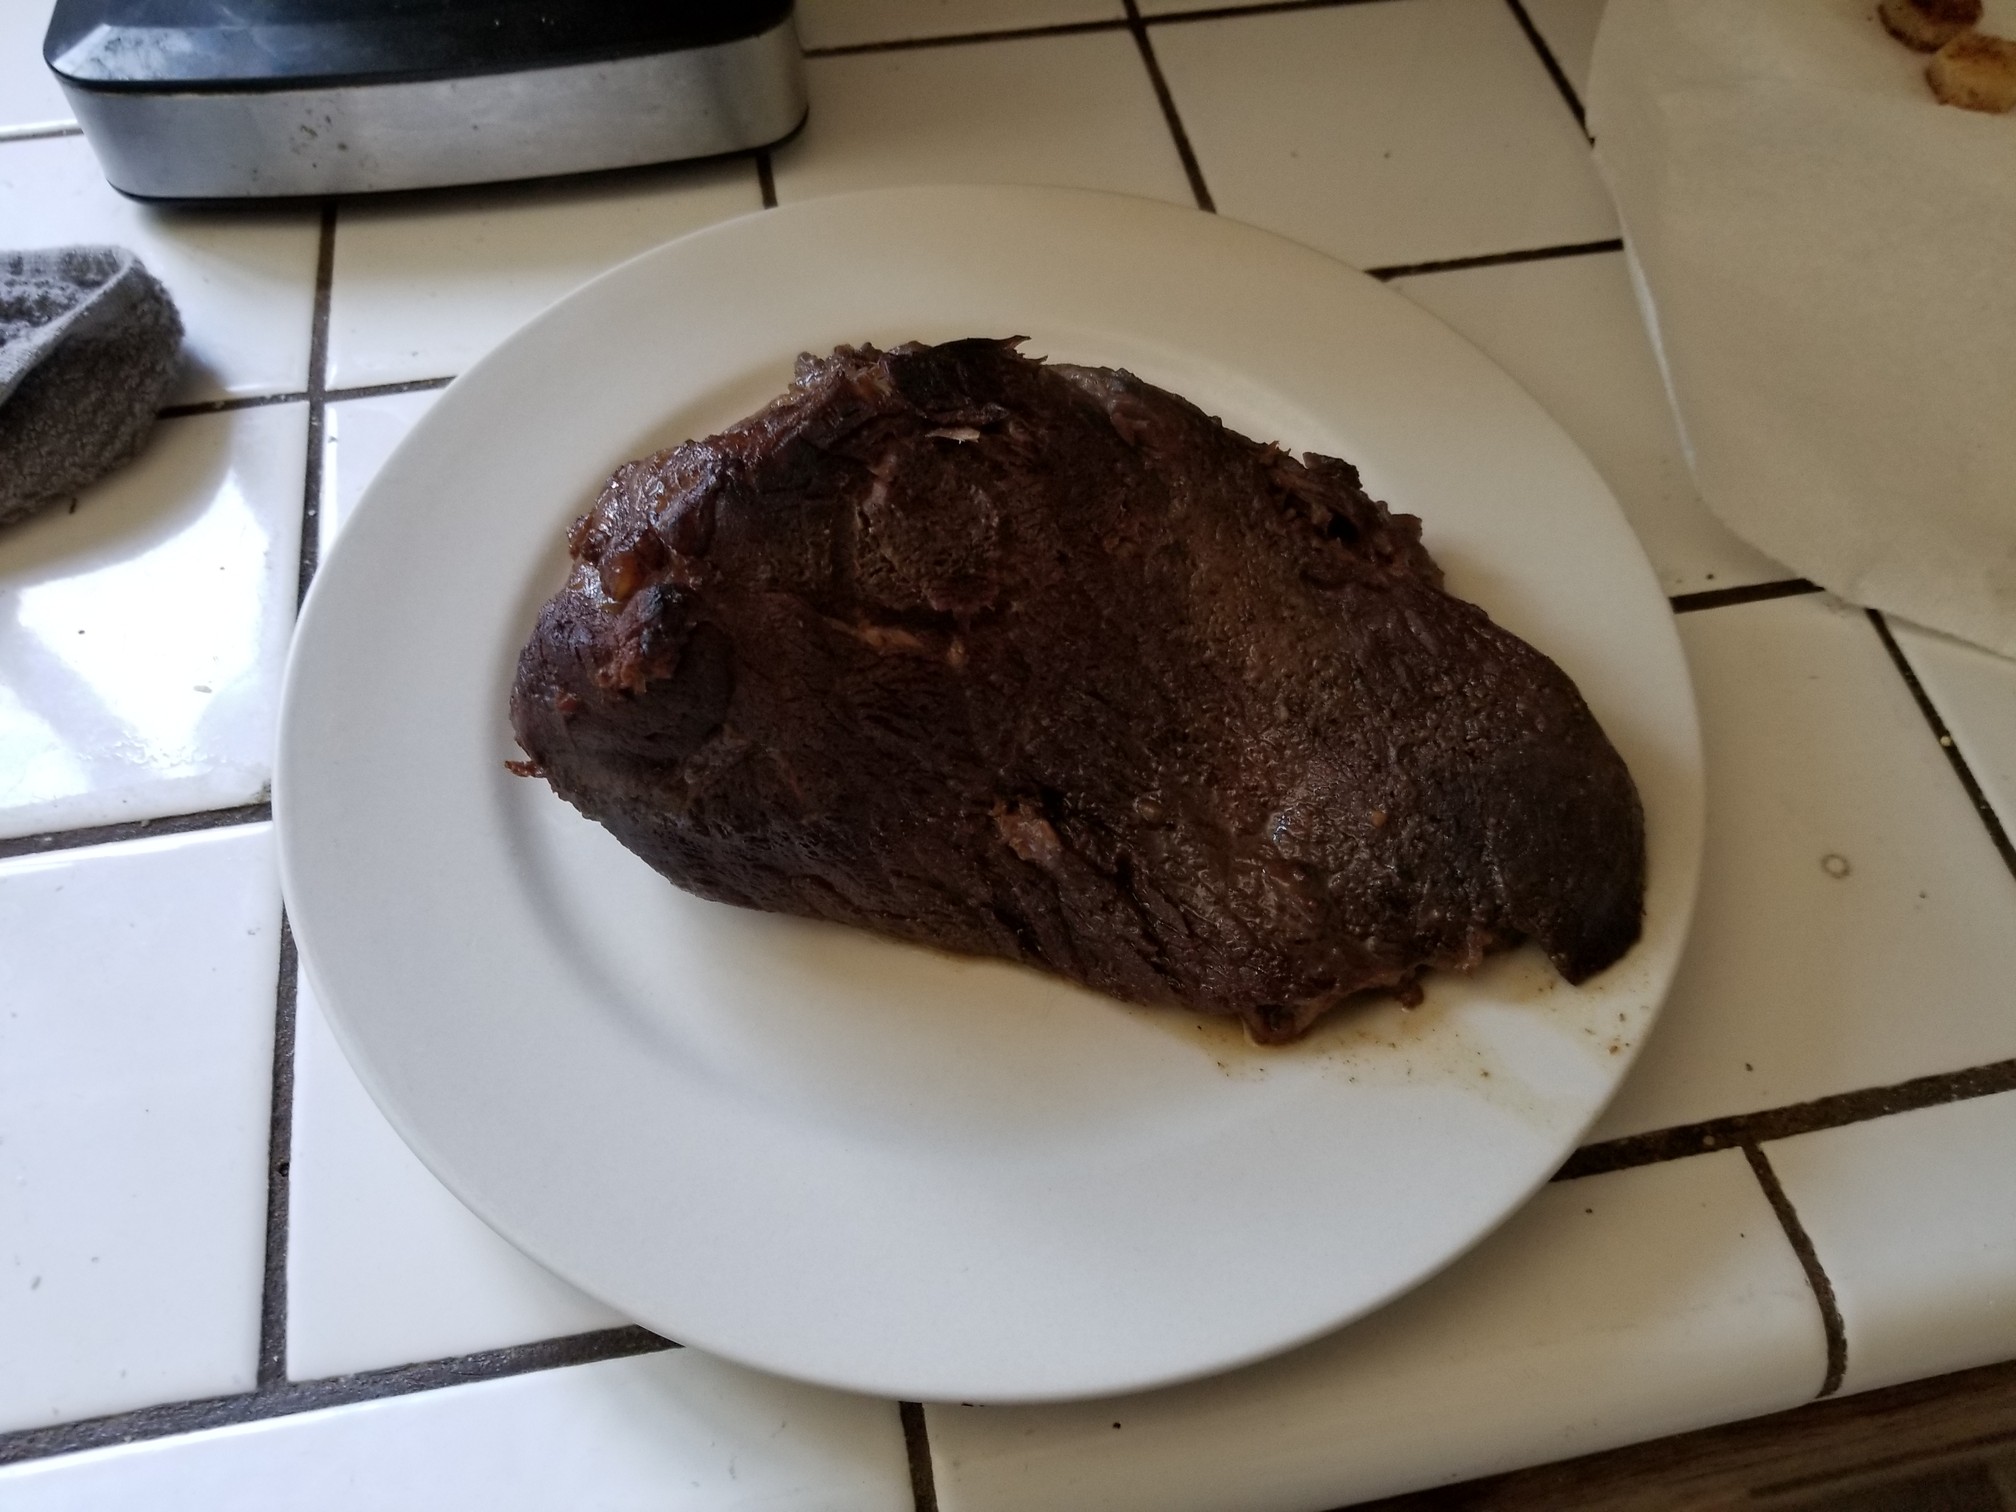
Cover this beast up with some foil and let rest for a few while we make some damn gravy!
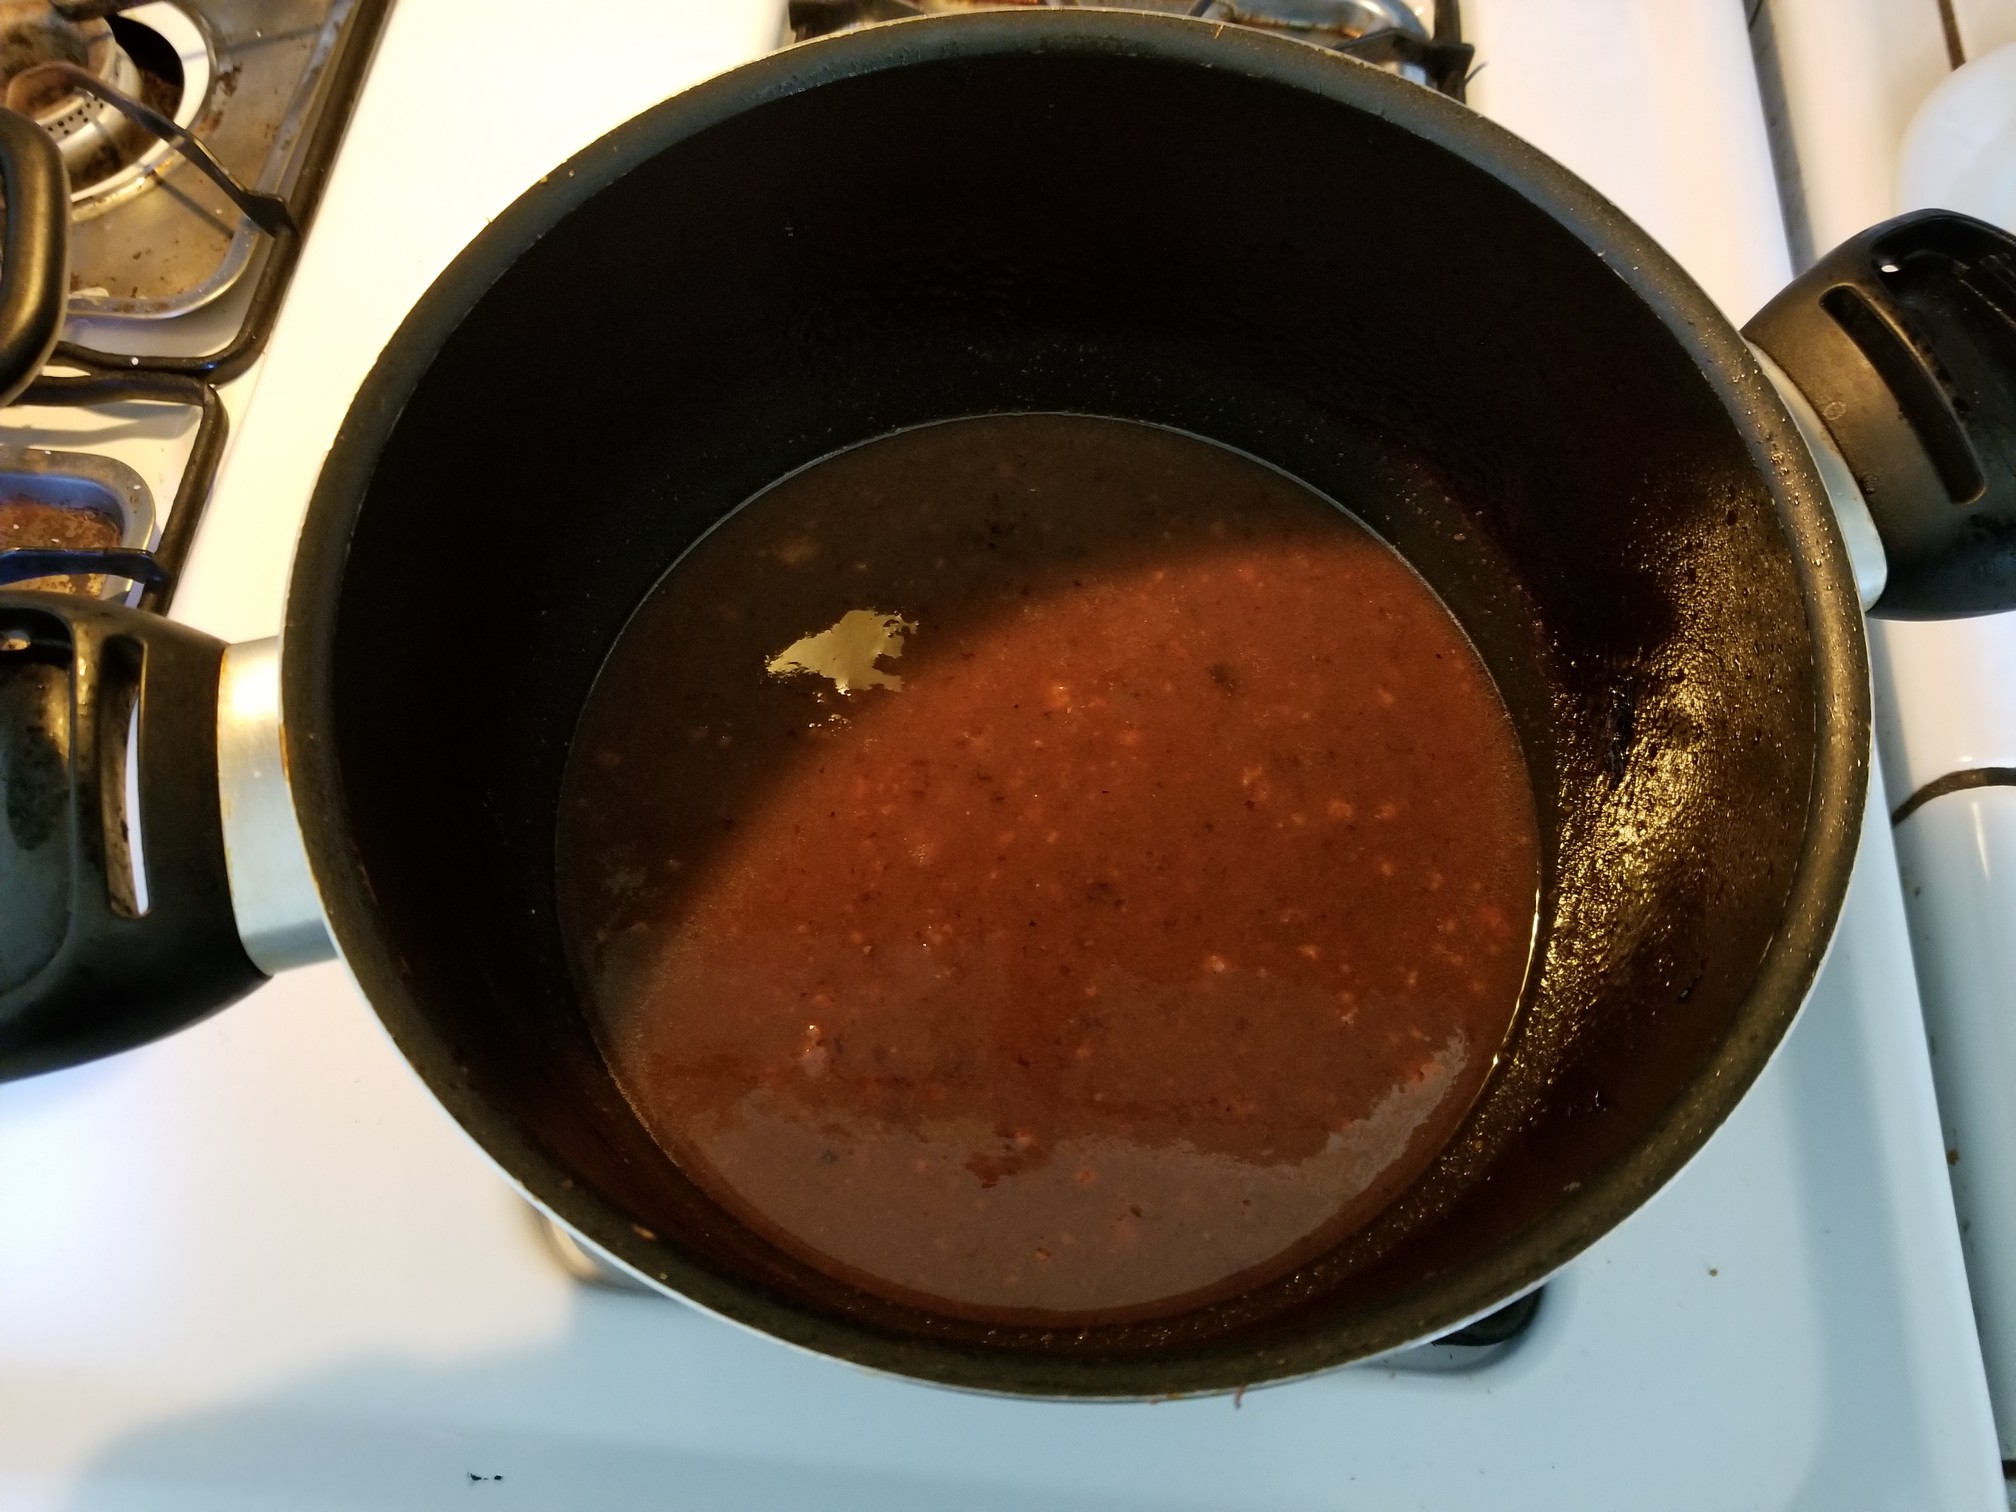
If you were to taste the cooking liquid as is at this point you should not be surprised that it tastes a lot like wine and vinegar and pickling spices and is tart as a motherfucker. Not to mention it needs to be tightened up from it’s current too-thin state. That’s where the gingersnaps come in.
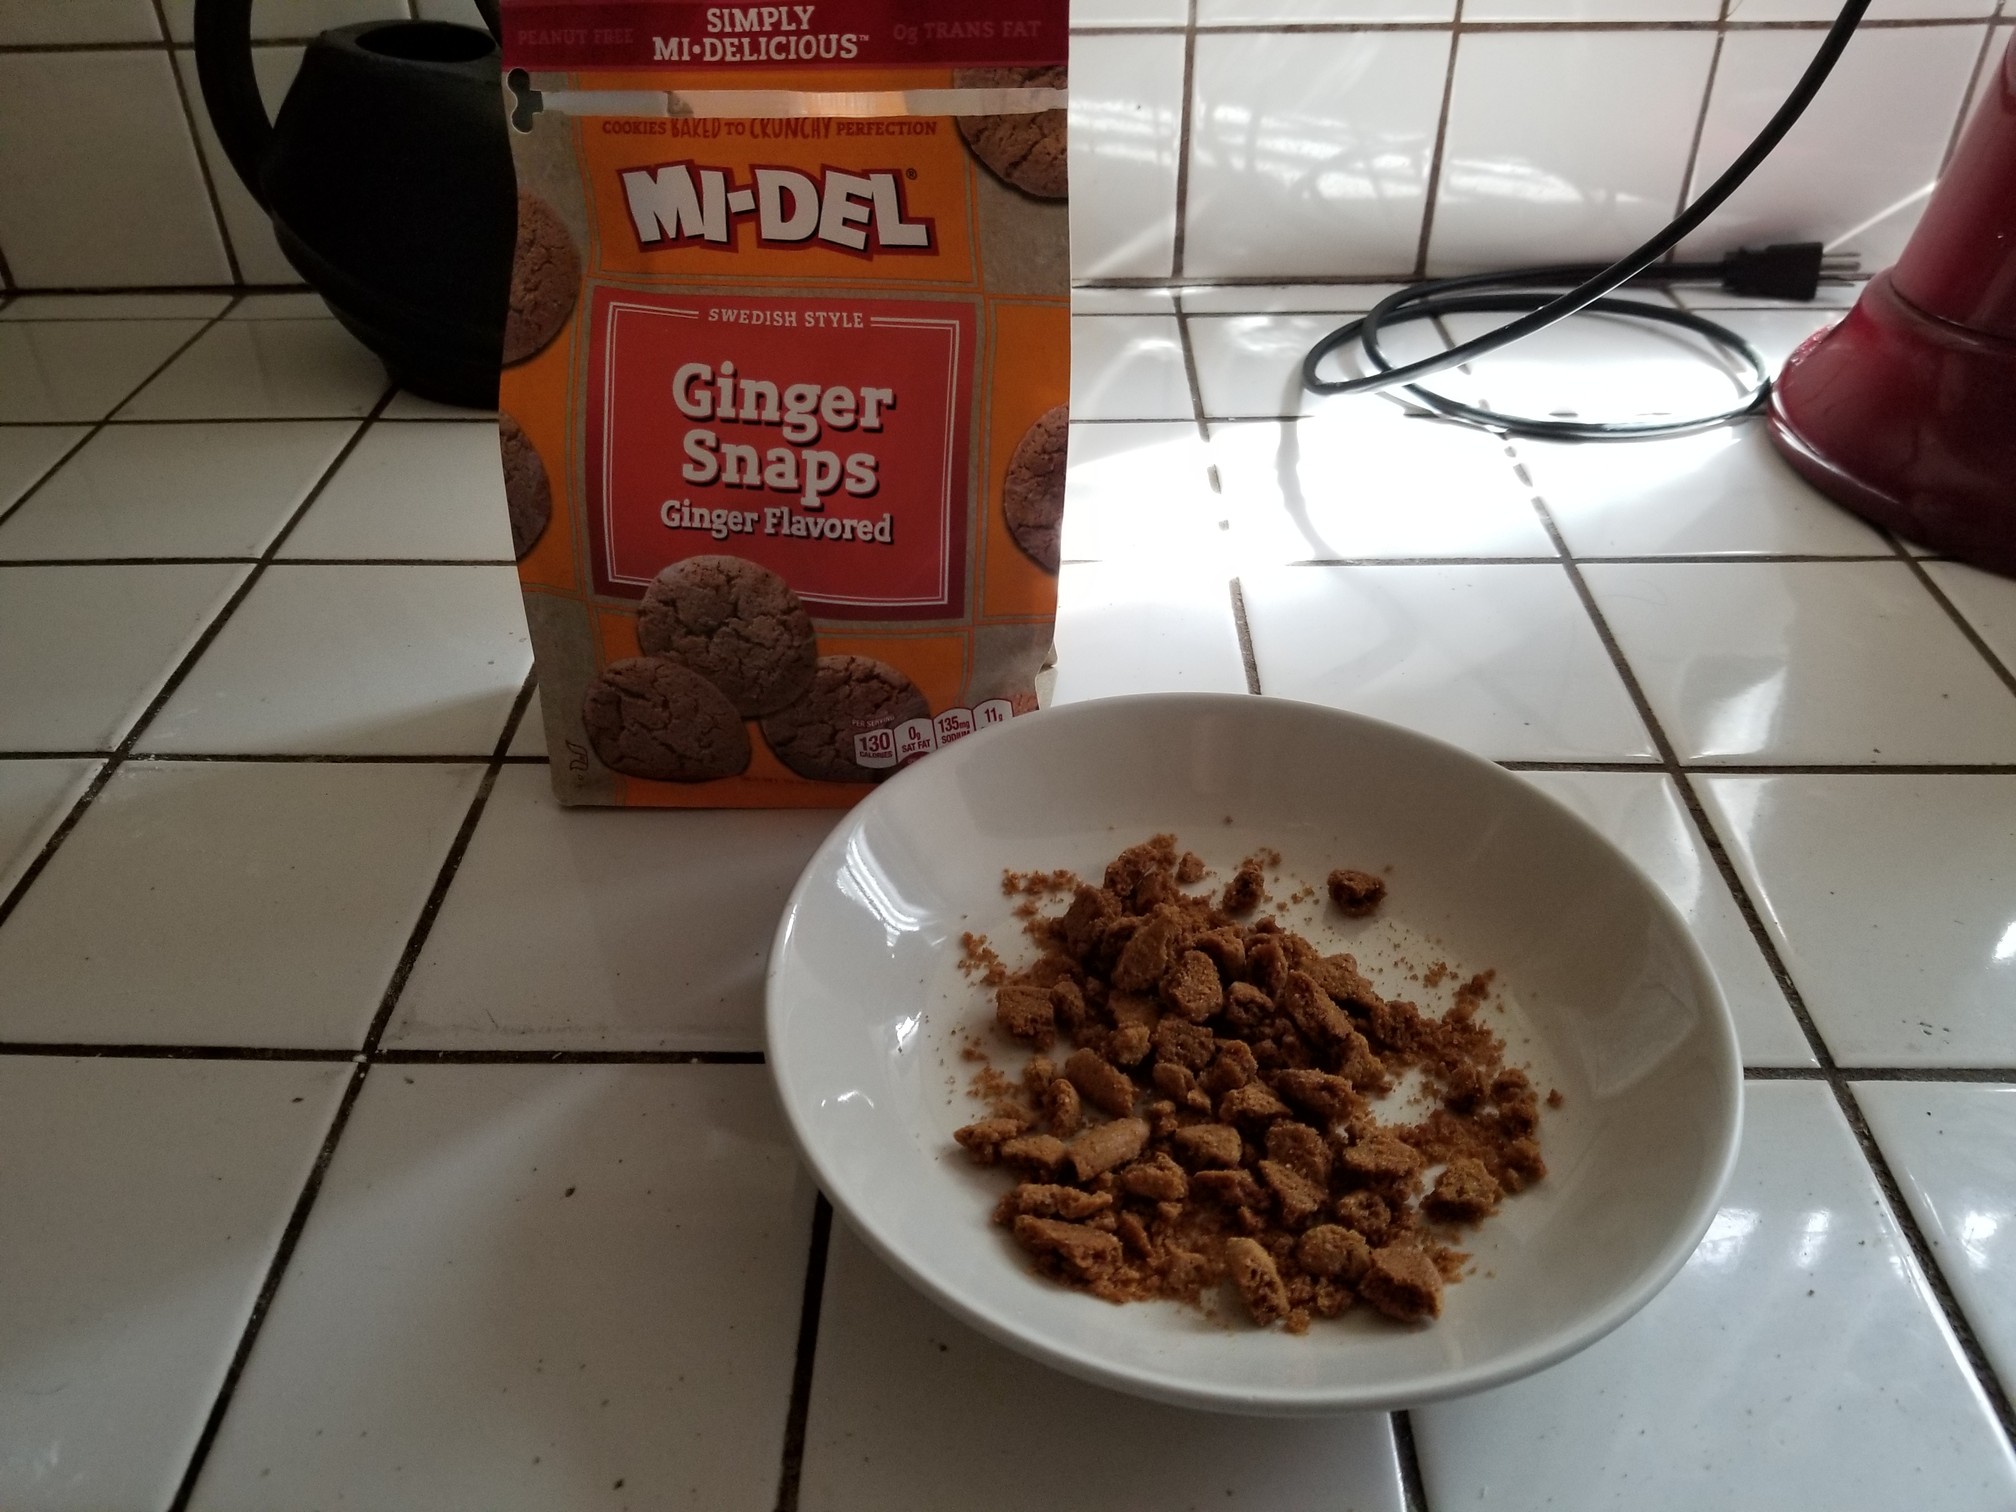
Yep. Some authentic store bought gingersnaps directly from the cookie aisle at your grocery store. I briefly considered baking my own batch of gingersnaps at home but decided. Nah. The cookies are a sweetening/thickening agent for a damn gravy I don’t have to get all crazy and shit and bake some damn cookies.
Maybe another time.
You will need about 10 or so small cookies, crumbled just like the photo above. For measurements sake this is about 1/3 cup of crumbled gingersnaps. Add to the cooking liquid over a medium heat and stir. Give the gravy about 5-7 minutes to thicken. You can also add in some salt and pepper at this point but use caution. It’s easy to go overboard trying to take away the extra tartness by adding too much salt. We want some of the tartness here.
Next simply slice the cooked meat and ladle on the gravy and you’re in business.
Can you serve this over a batch of mashed potatoes? Hell yes you can. Or how about some spätzle, like from that linked recipe up there? Fucking A, Hans! Get after that!
Or!
Kartoffelklöße (potato dumplings.)
Massive assist to DJ Taj for his help with this dish. He did all of the work for this one.
2-3 large russet potatoes.
1 1/2 teaspoons of salt.
1/4 teaspoon of NUTMEG!
1/4 to 1/2 cup of all purpose flour – Note: it was about 1/4 cup here.
1/8 cup of cornstarch.
1 beaten egg.
2 slices of day old sourdough bread. Crusts trimmed.
1 tablespoon of melted butter.
1 tablespoon of oil.
First let’s cook the potatoes. Guess what? No peeling required! Put the whole potatoes in a large pot of boiling water and cook for about 45 minutes.
While the potatoes are cooking, slice the bread into 1/2″ cubes.
Important recipe variation from the linked recipe!
DON’T toast the little bread slices in the butter and oil until browned as the recipe says.
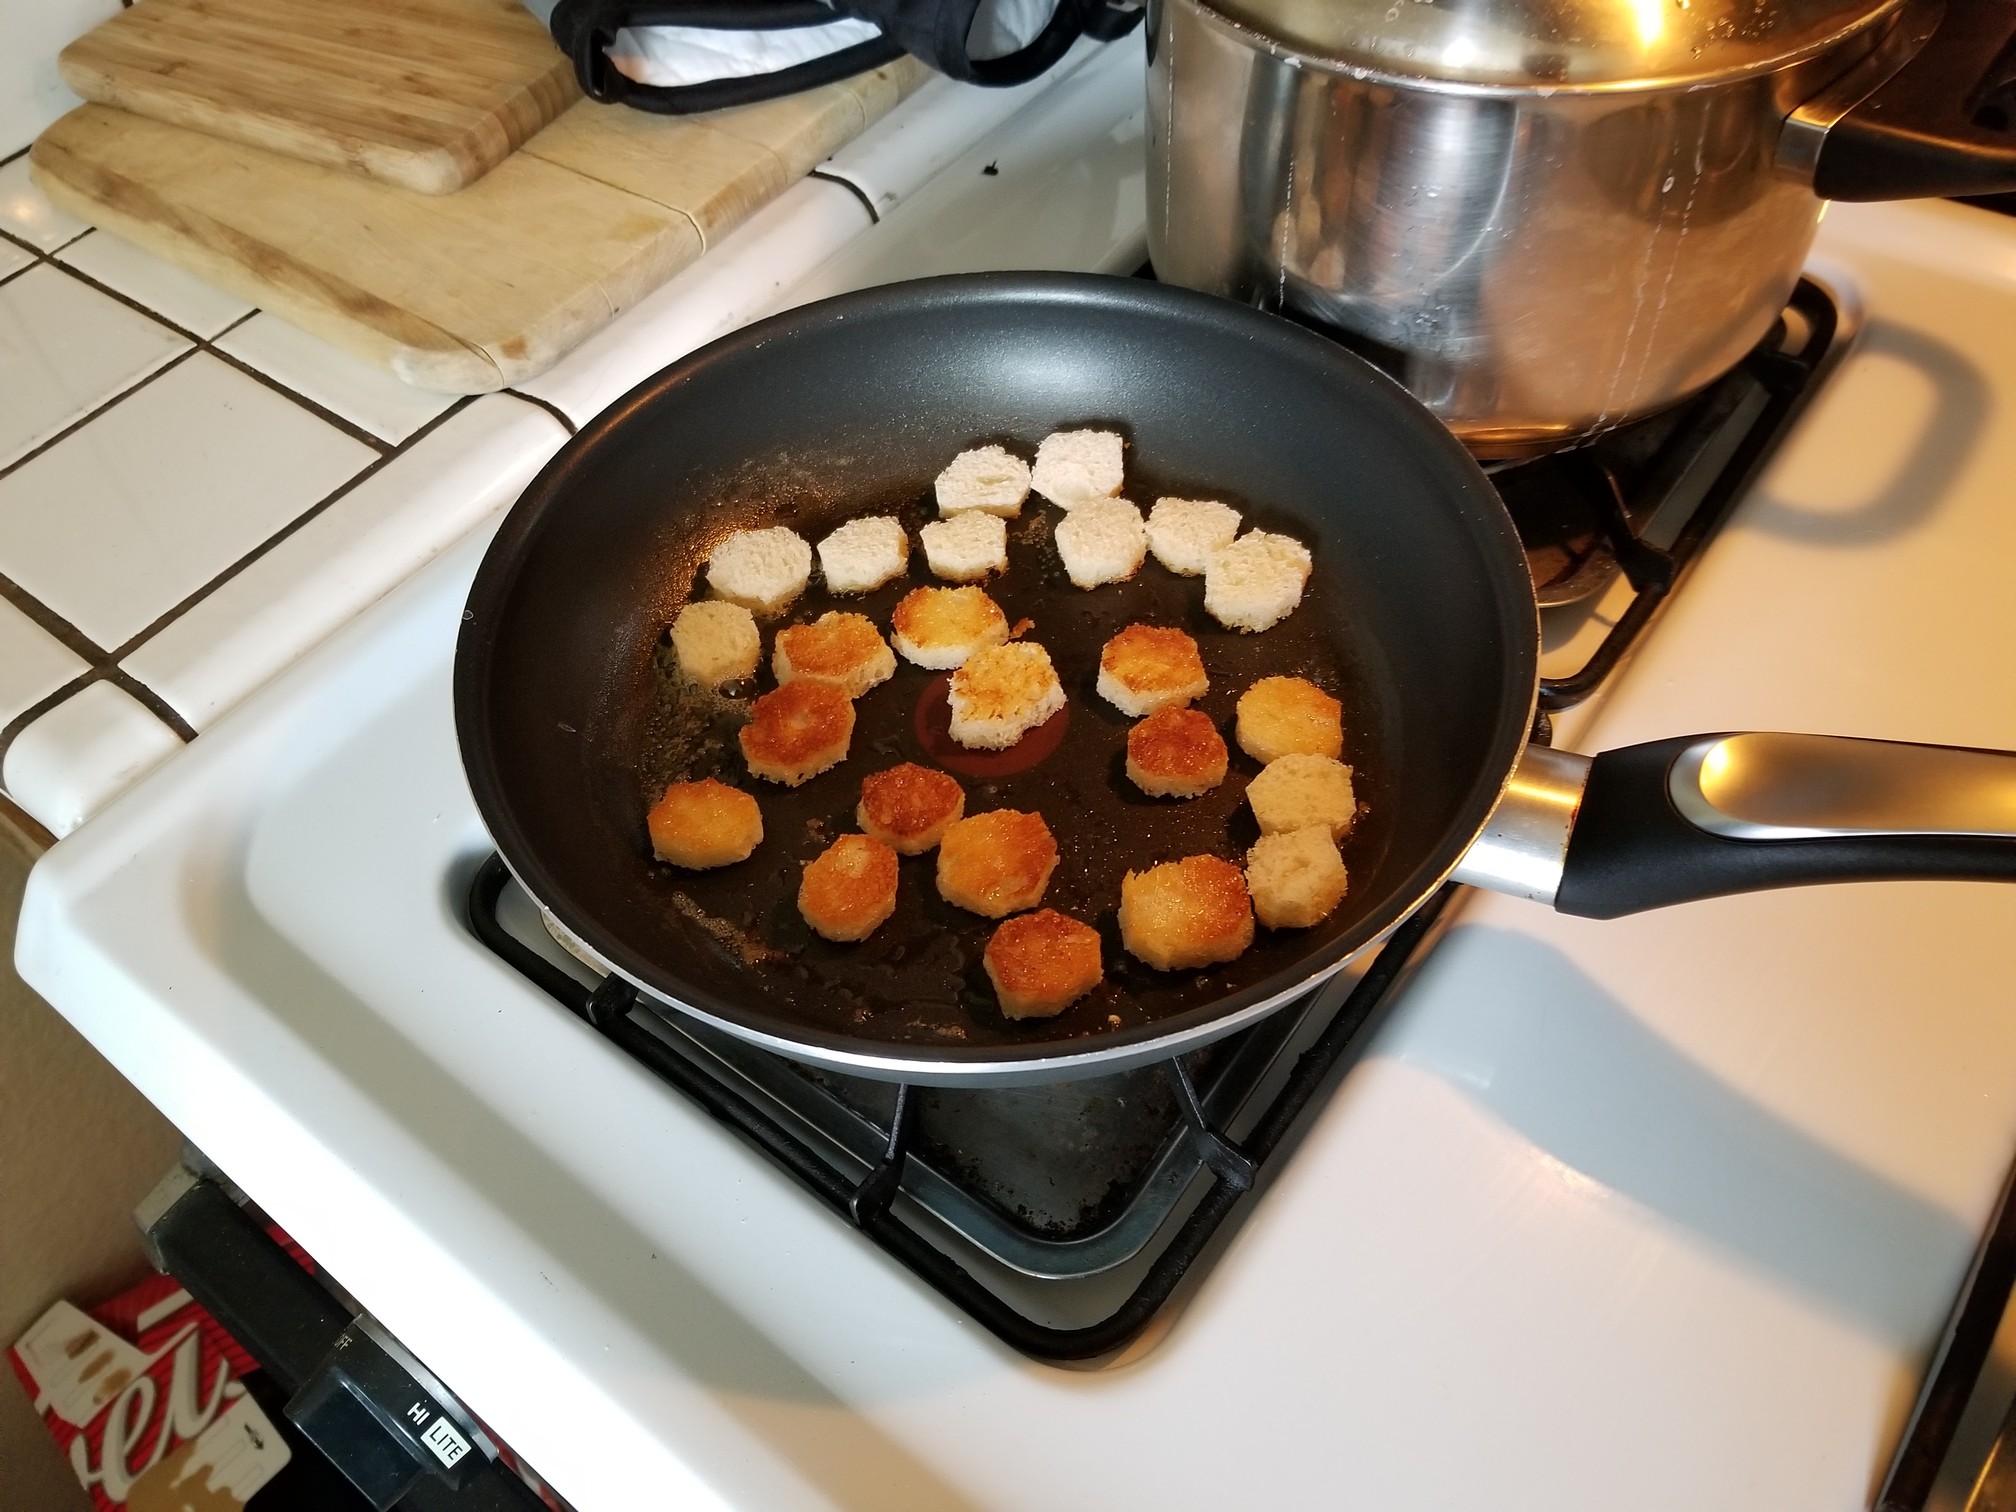
Simply leave them untoasted. The bread idea is an interesting one. It gives the potato mixture something to cling to as you roll up the dumplings. Some of the recipes researched say you don’t need to do the bread center step at all! Just use the potato mixture. Also some of the reviews of those recipes without the bread center ALSO stated that the dumpling mixture dissolved and turned to goo when added to the boiling water so we erred on the side of caution here. When using the pre-toasted bread, as called for in the recipe, I found the center of the cooked dumplings had a too chewy texture due to the cooked bread. They were still delicious dumplings but they didn’t need the chewy center.
Anyway.
When your potatoes are cooked through they can be easily peeled once they’ve cooled a little.
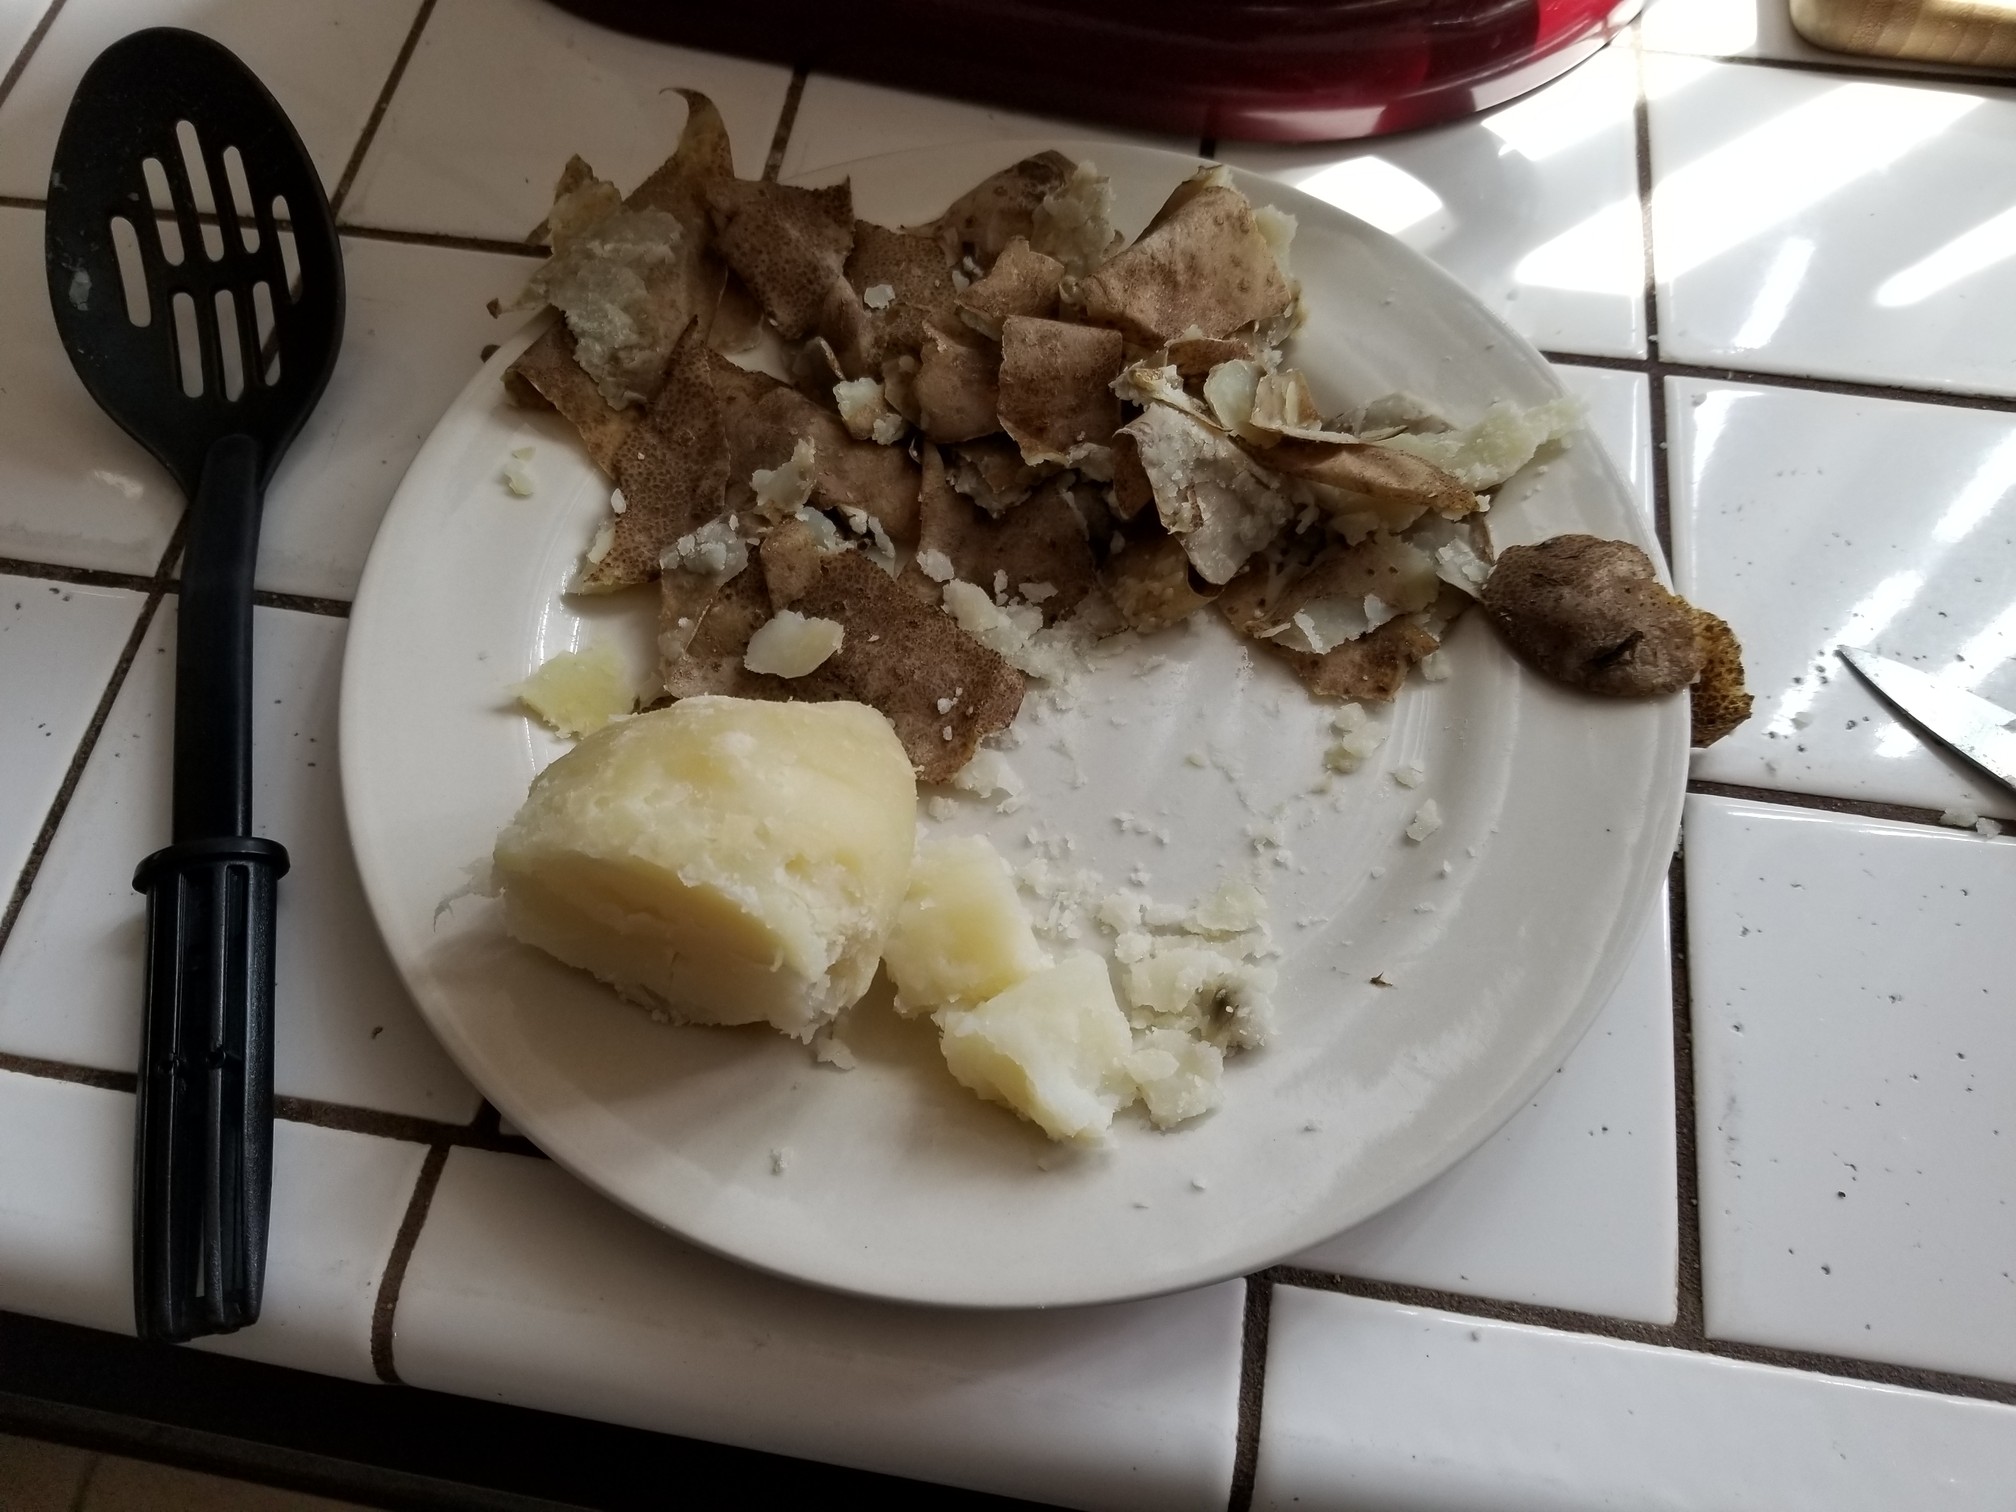
Next we are going to put the potatoes through a ricer.
What’s a ricer?
I’m glad you asked!
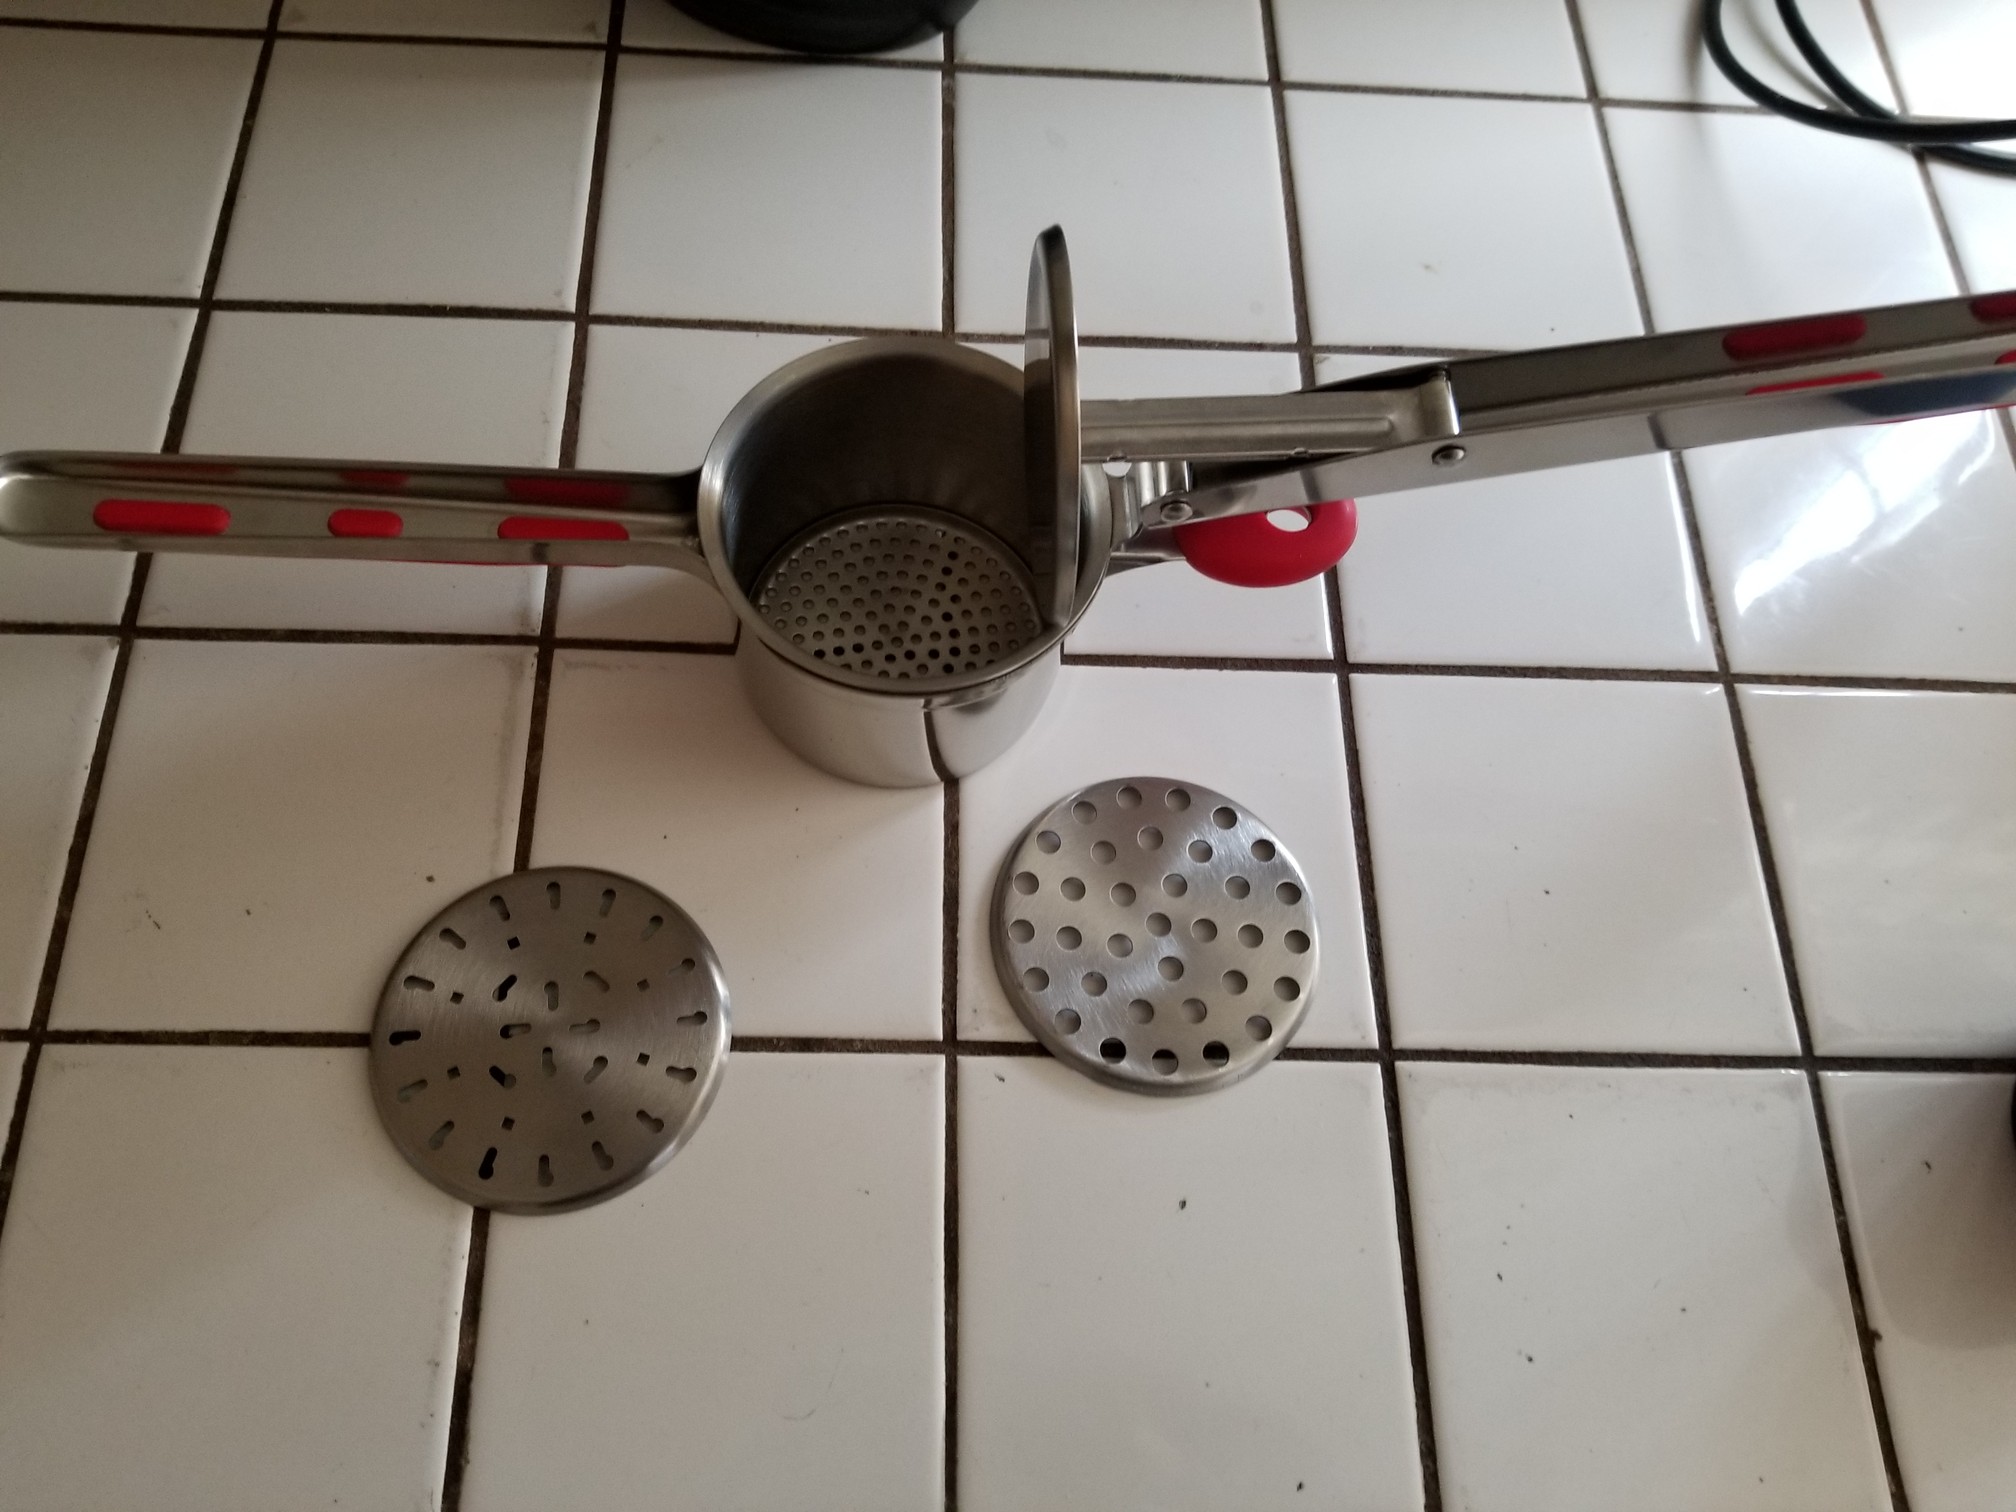
Some folks swear that ricing potatoes prior to mashing them makes the best ever mashed potatoes. I will give this theory a test next time I make mashed potatoes.
If you harken back to yesteryear you will remember that I used the ricer when I made homemade gnocchi.
Sweet Jesus that gnocchi was the bees fucking knees.
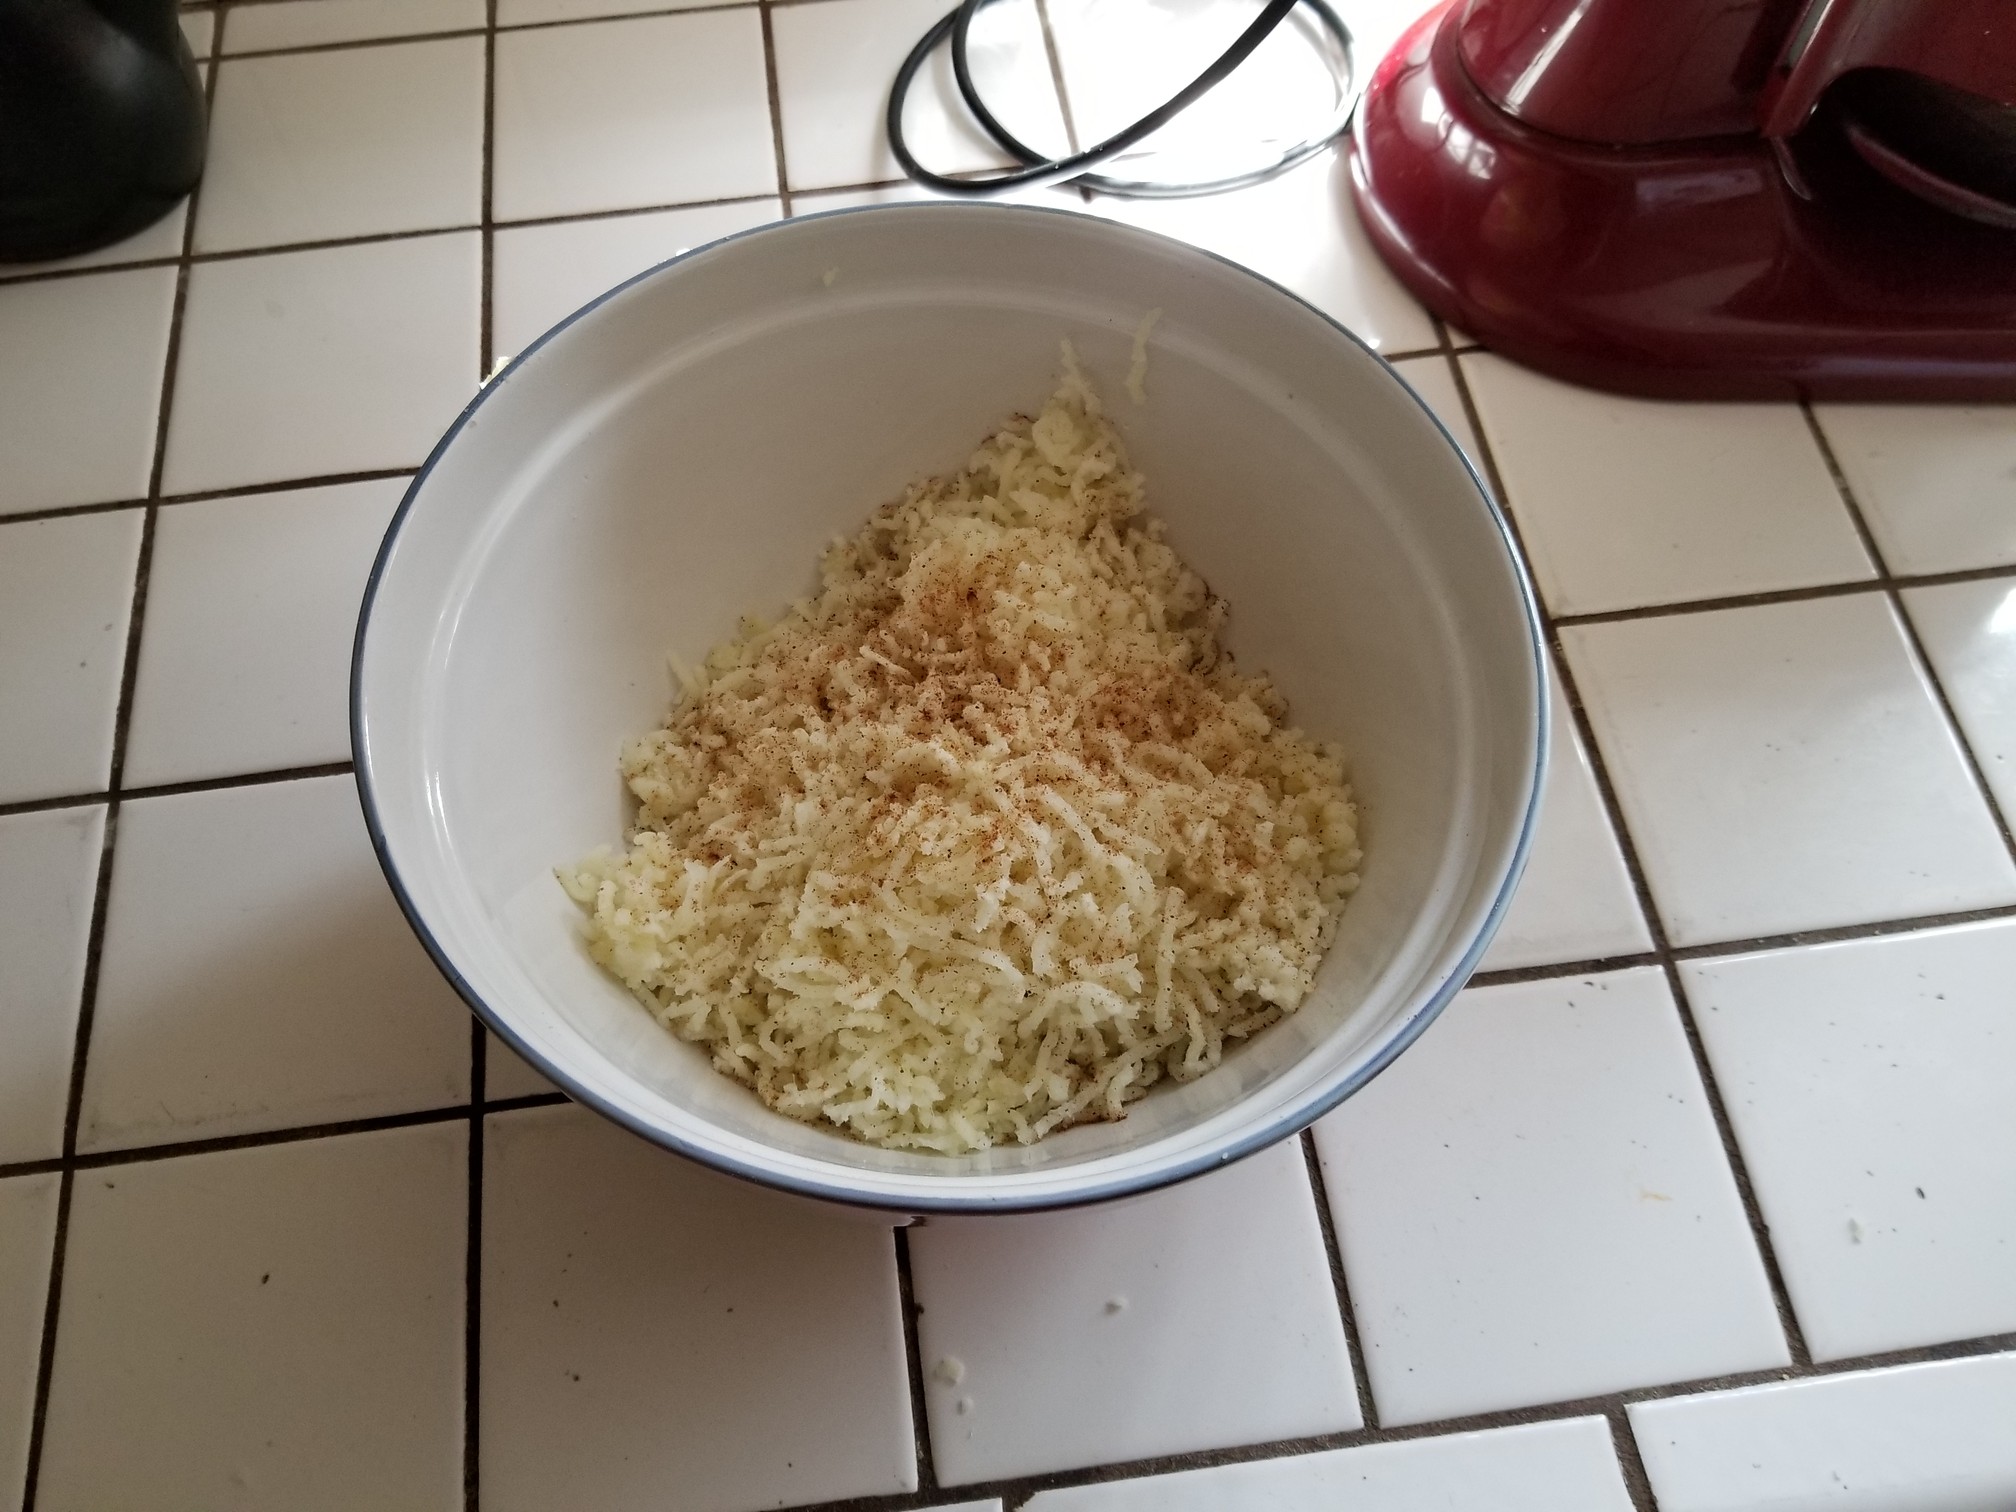
Put the riced potatoes in a bowl and add in the salt and the nutmeg.
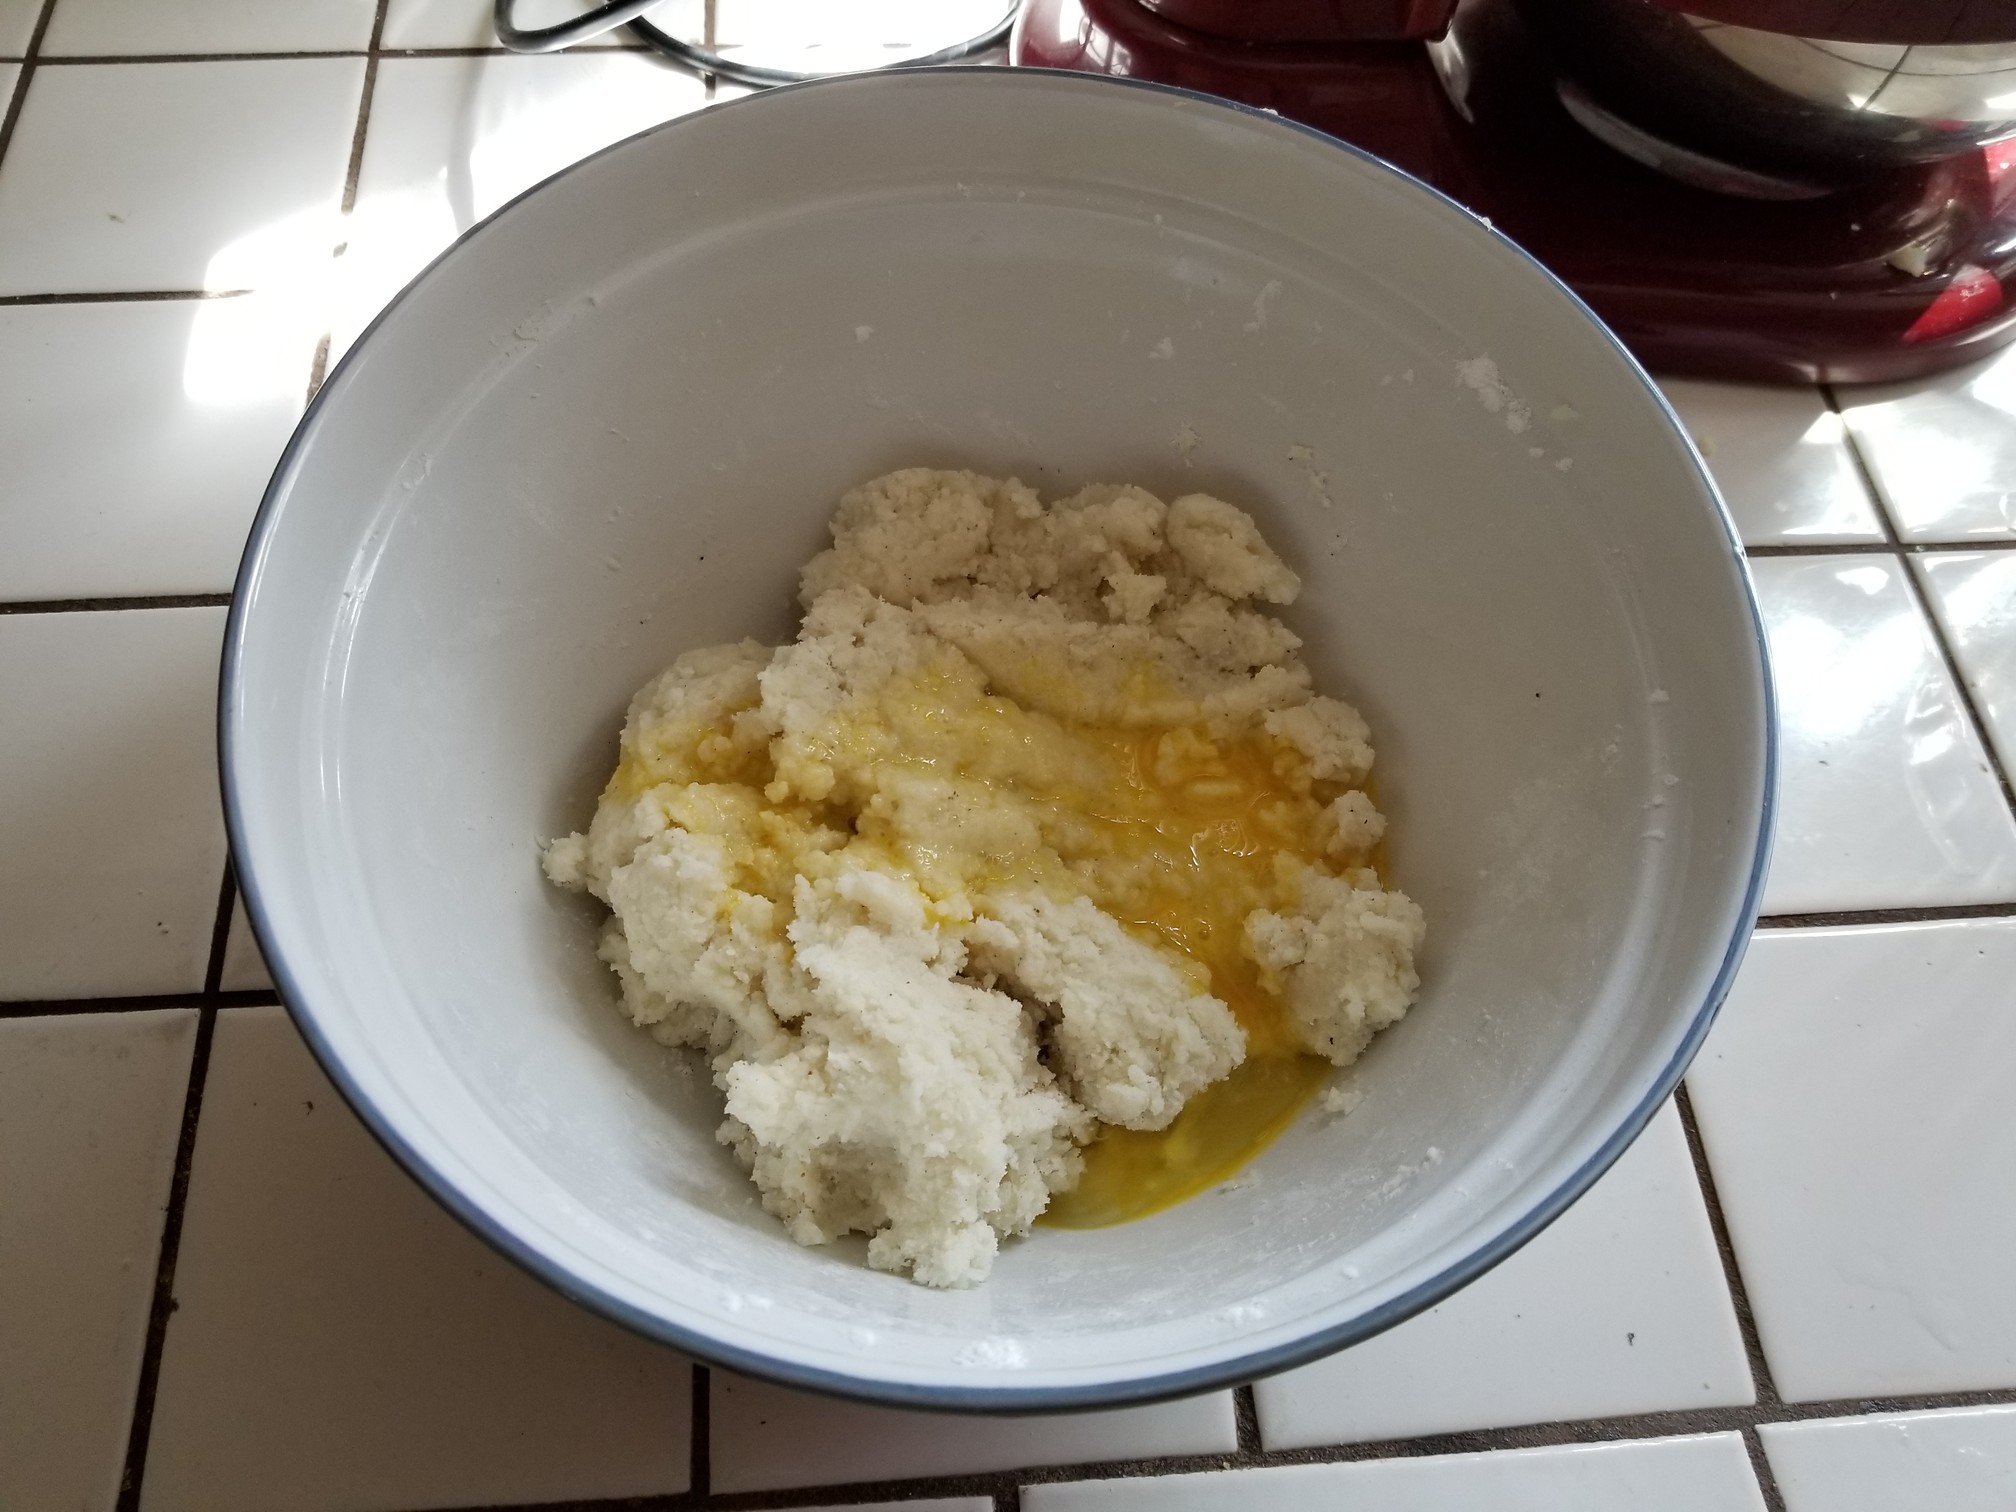
Next add in the 1/4 cup of flour, the cornstarch. Mix with your hands until you have a smooth dough and then add in the beaten egg.
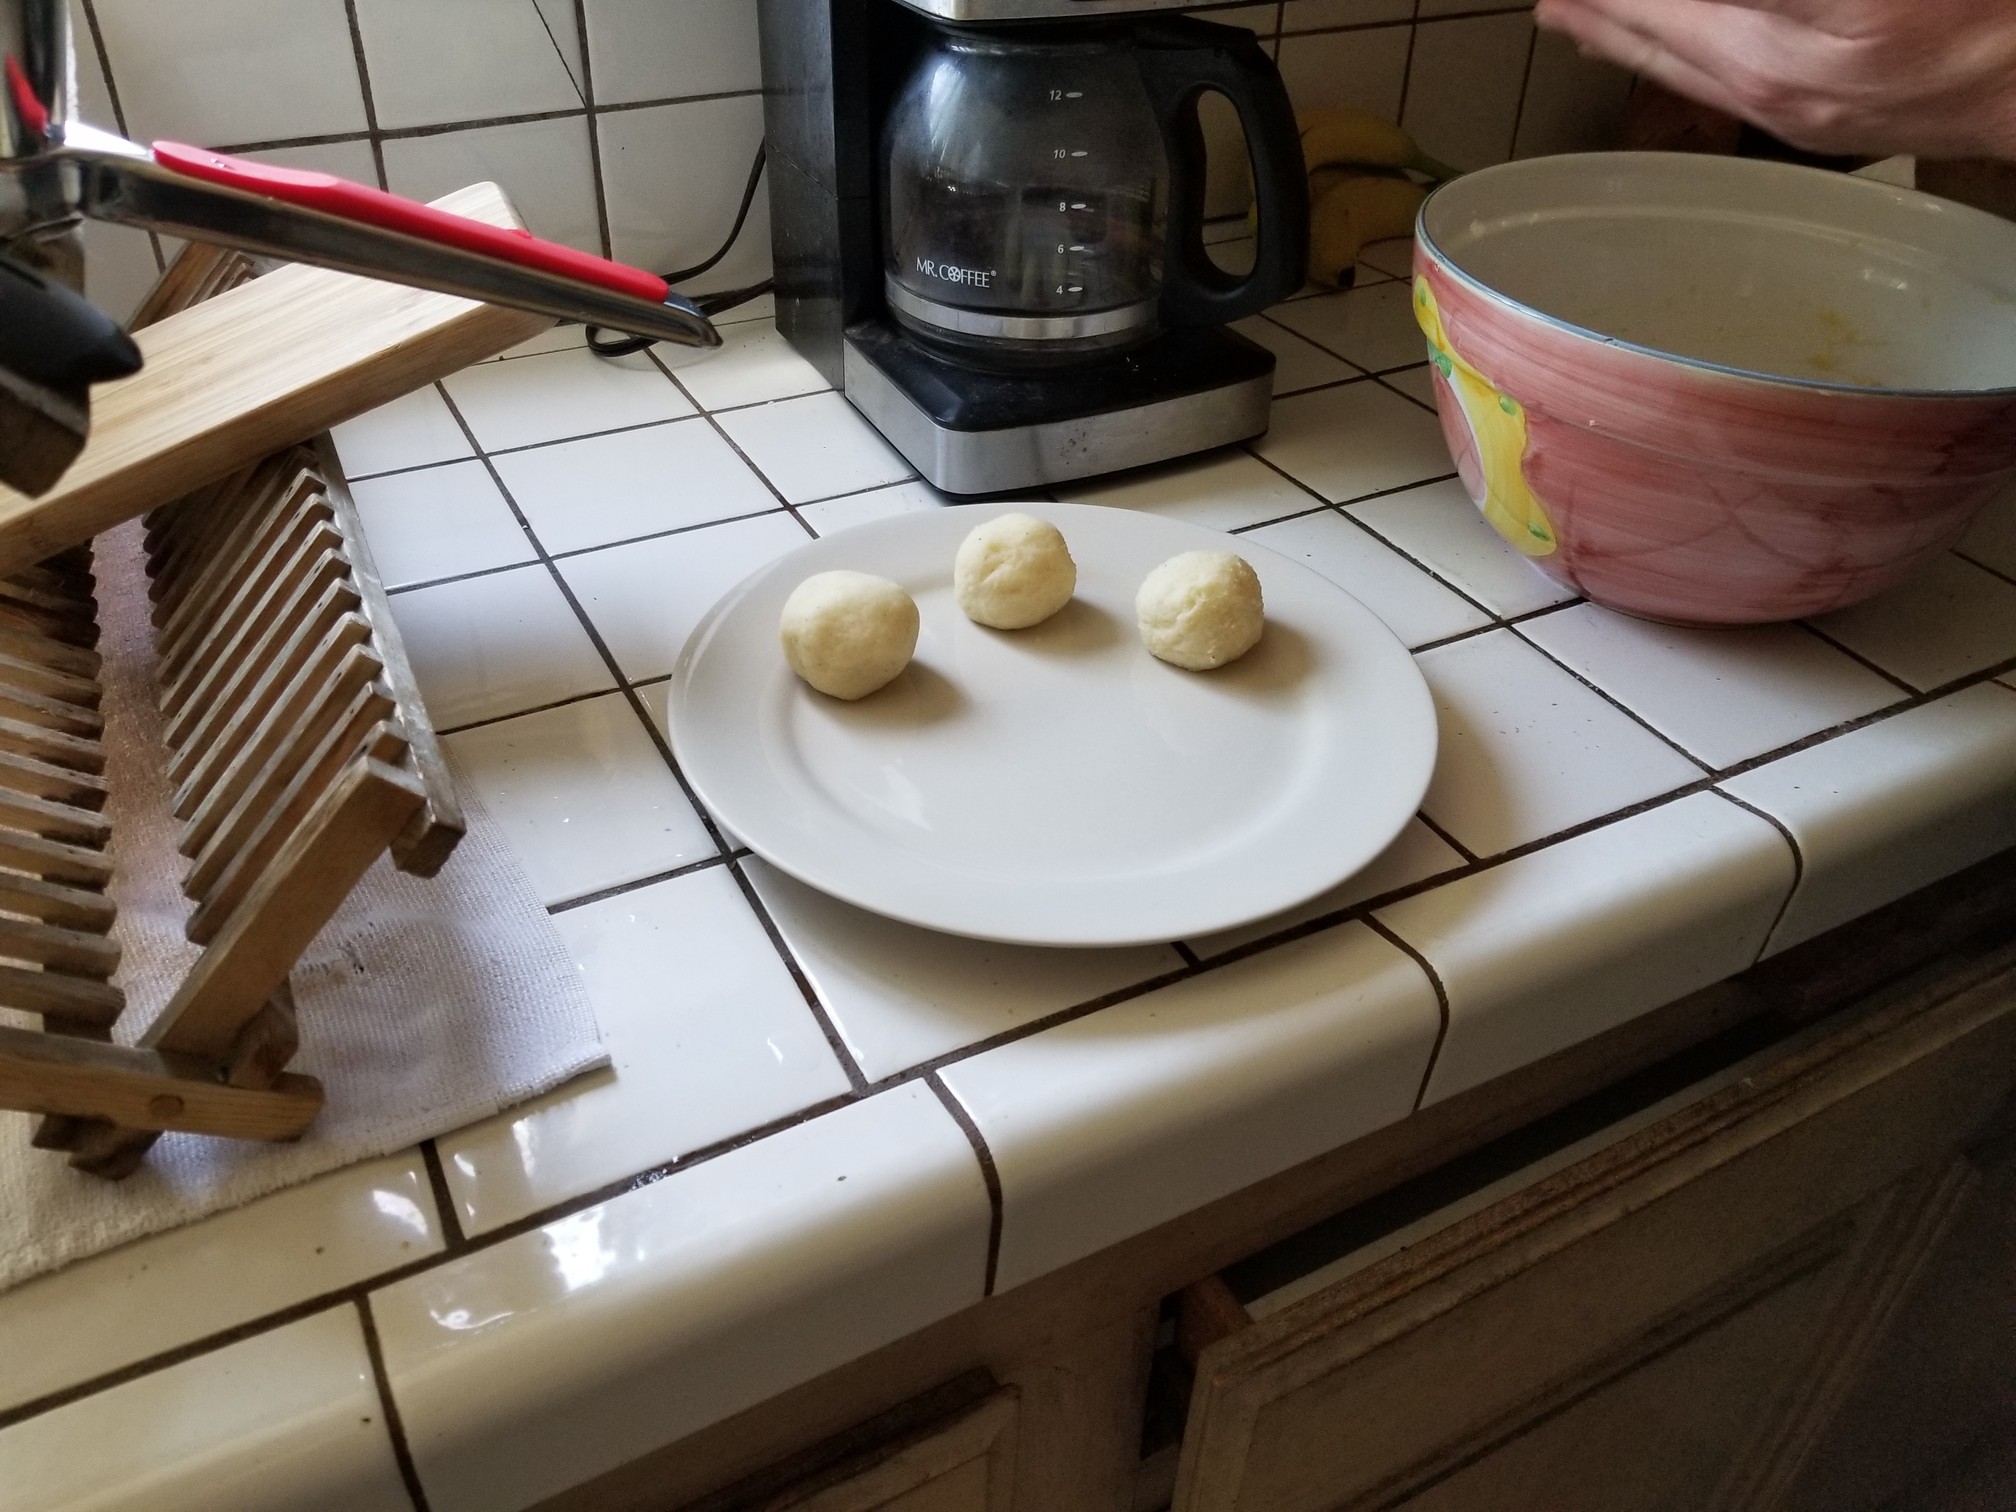
To form the dumplings grab one of those UNCOOKED bits of bread and then wrap a small handful of the potato dough around it. Roll into a ball and repeat.
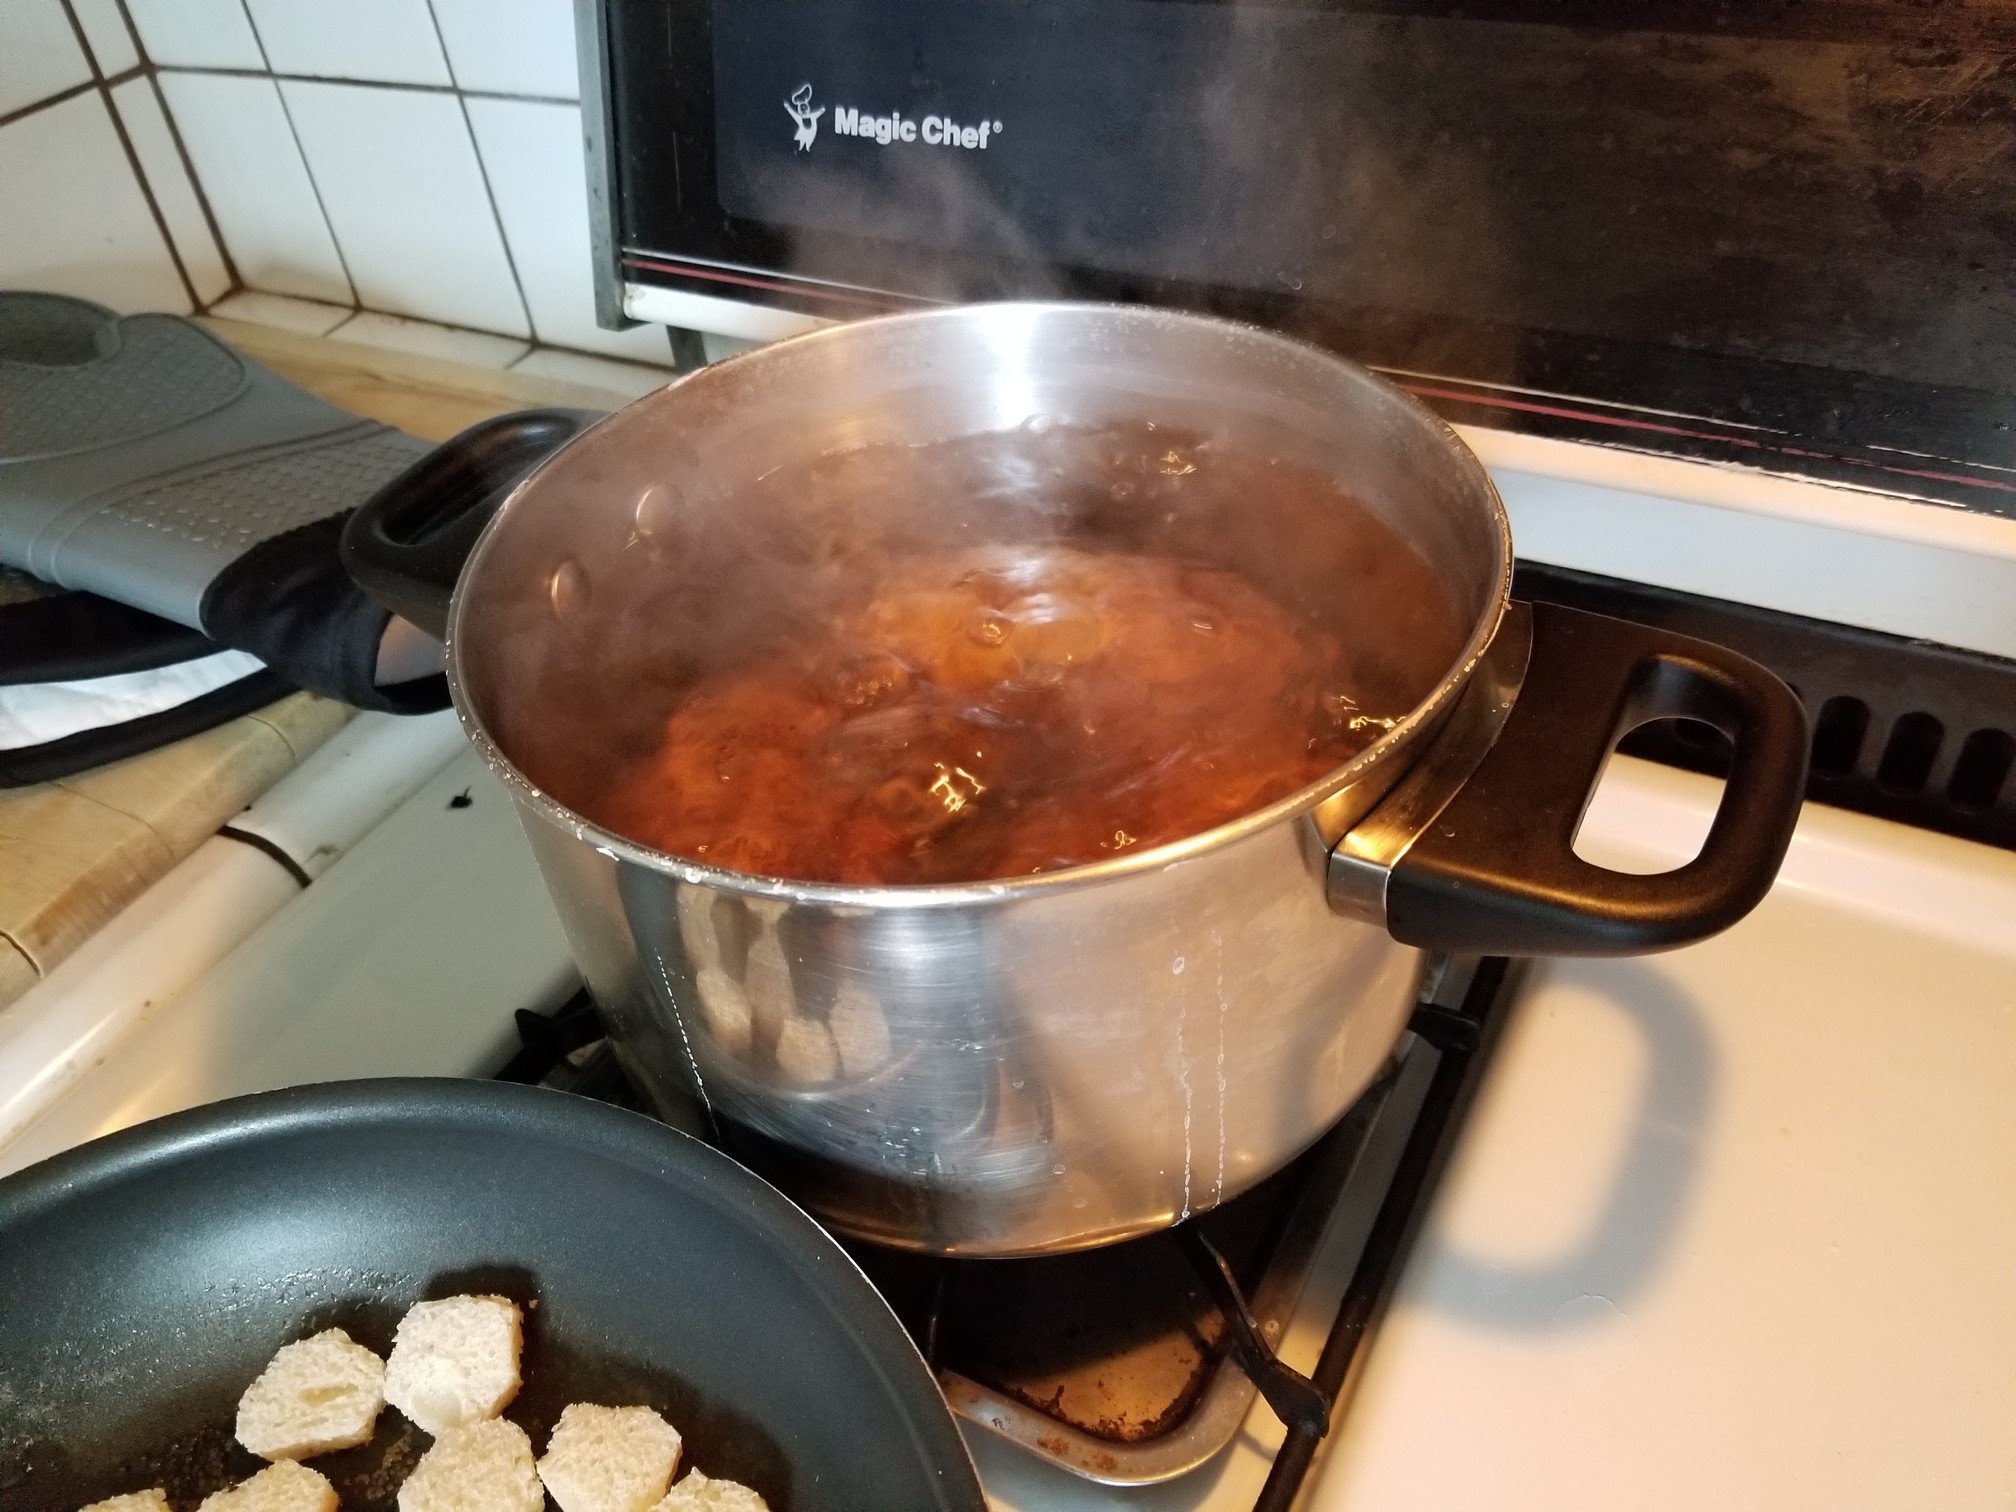
Once you’ve got all of the dumplings rolled up, get a pot of salted water onto a gentle boil. You don’t need a full on roiling boil here.
Drop about 4-5 dumplings into the water and cook for about 10-12 minutes time.
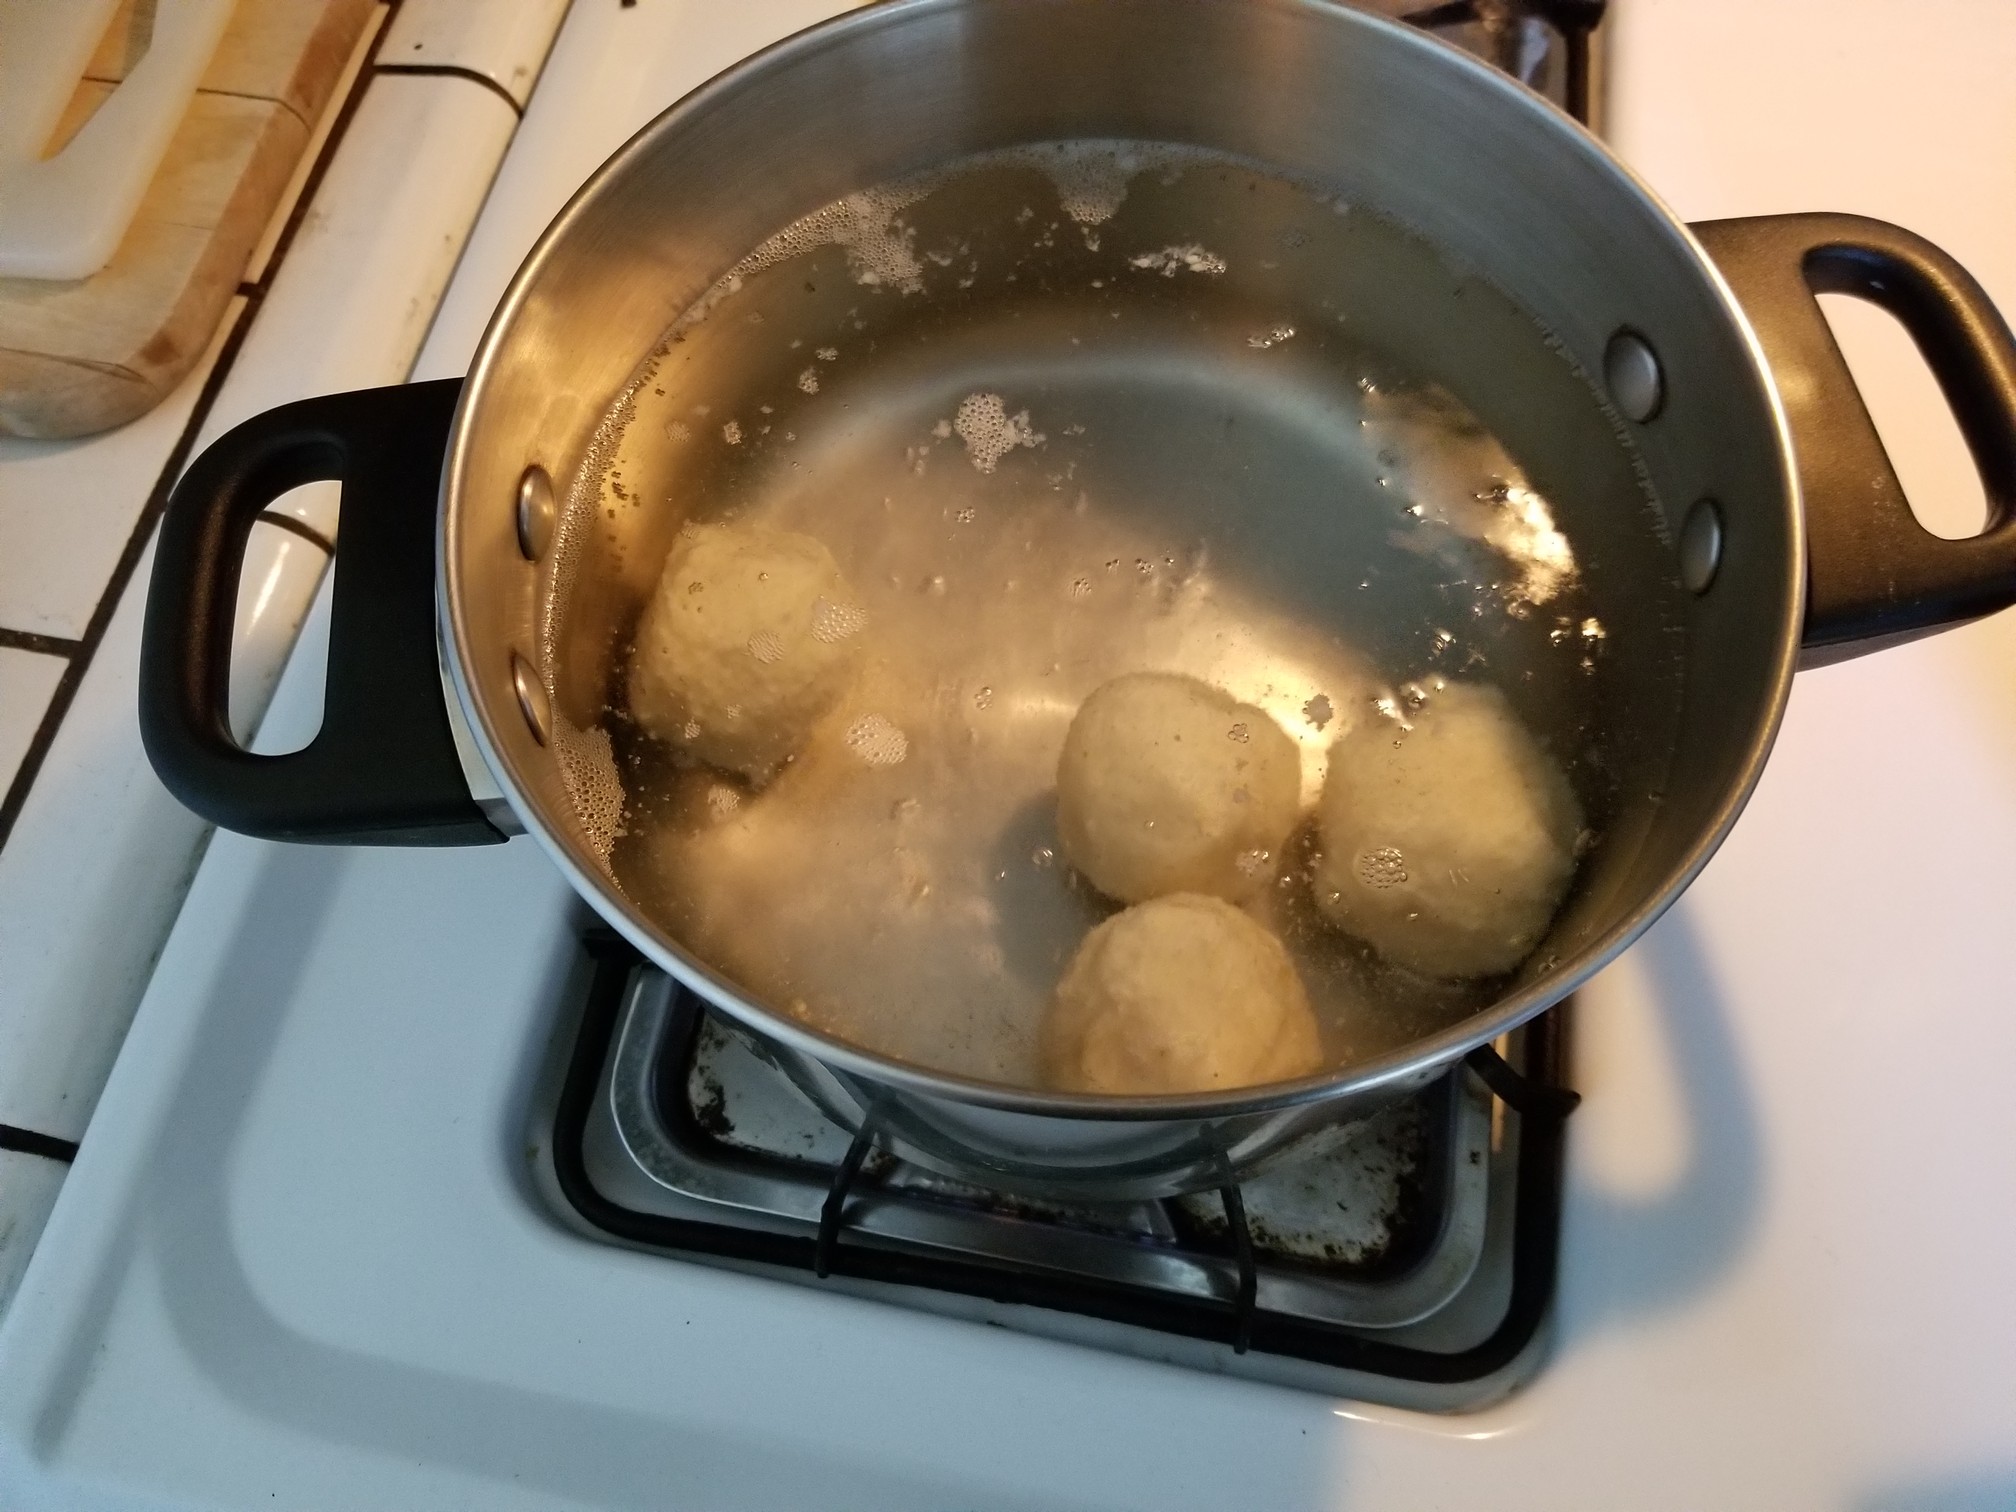
You don’t want to overcrowd the pan and you also don’t want the dumplings sticking to each other. We found that the dumplings will float to the surface after just a few minutes but go ahead and cook them for the allotted 10-12 minutes. Put the cooked dumplings on a plate.
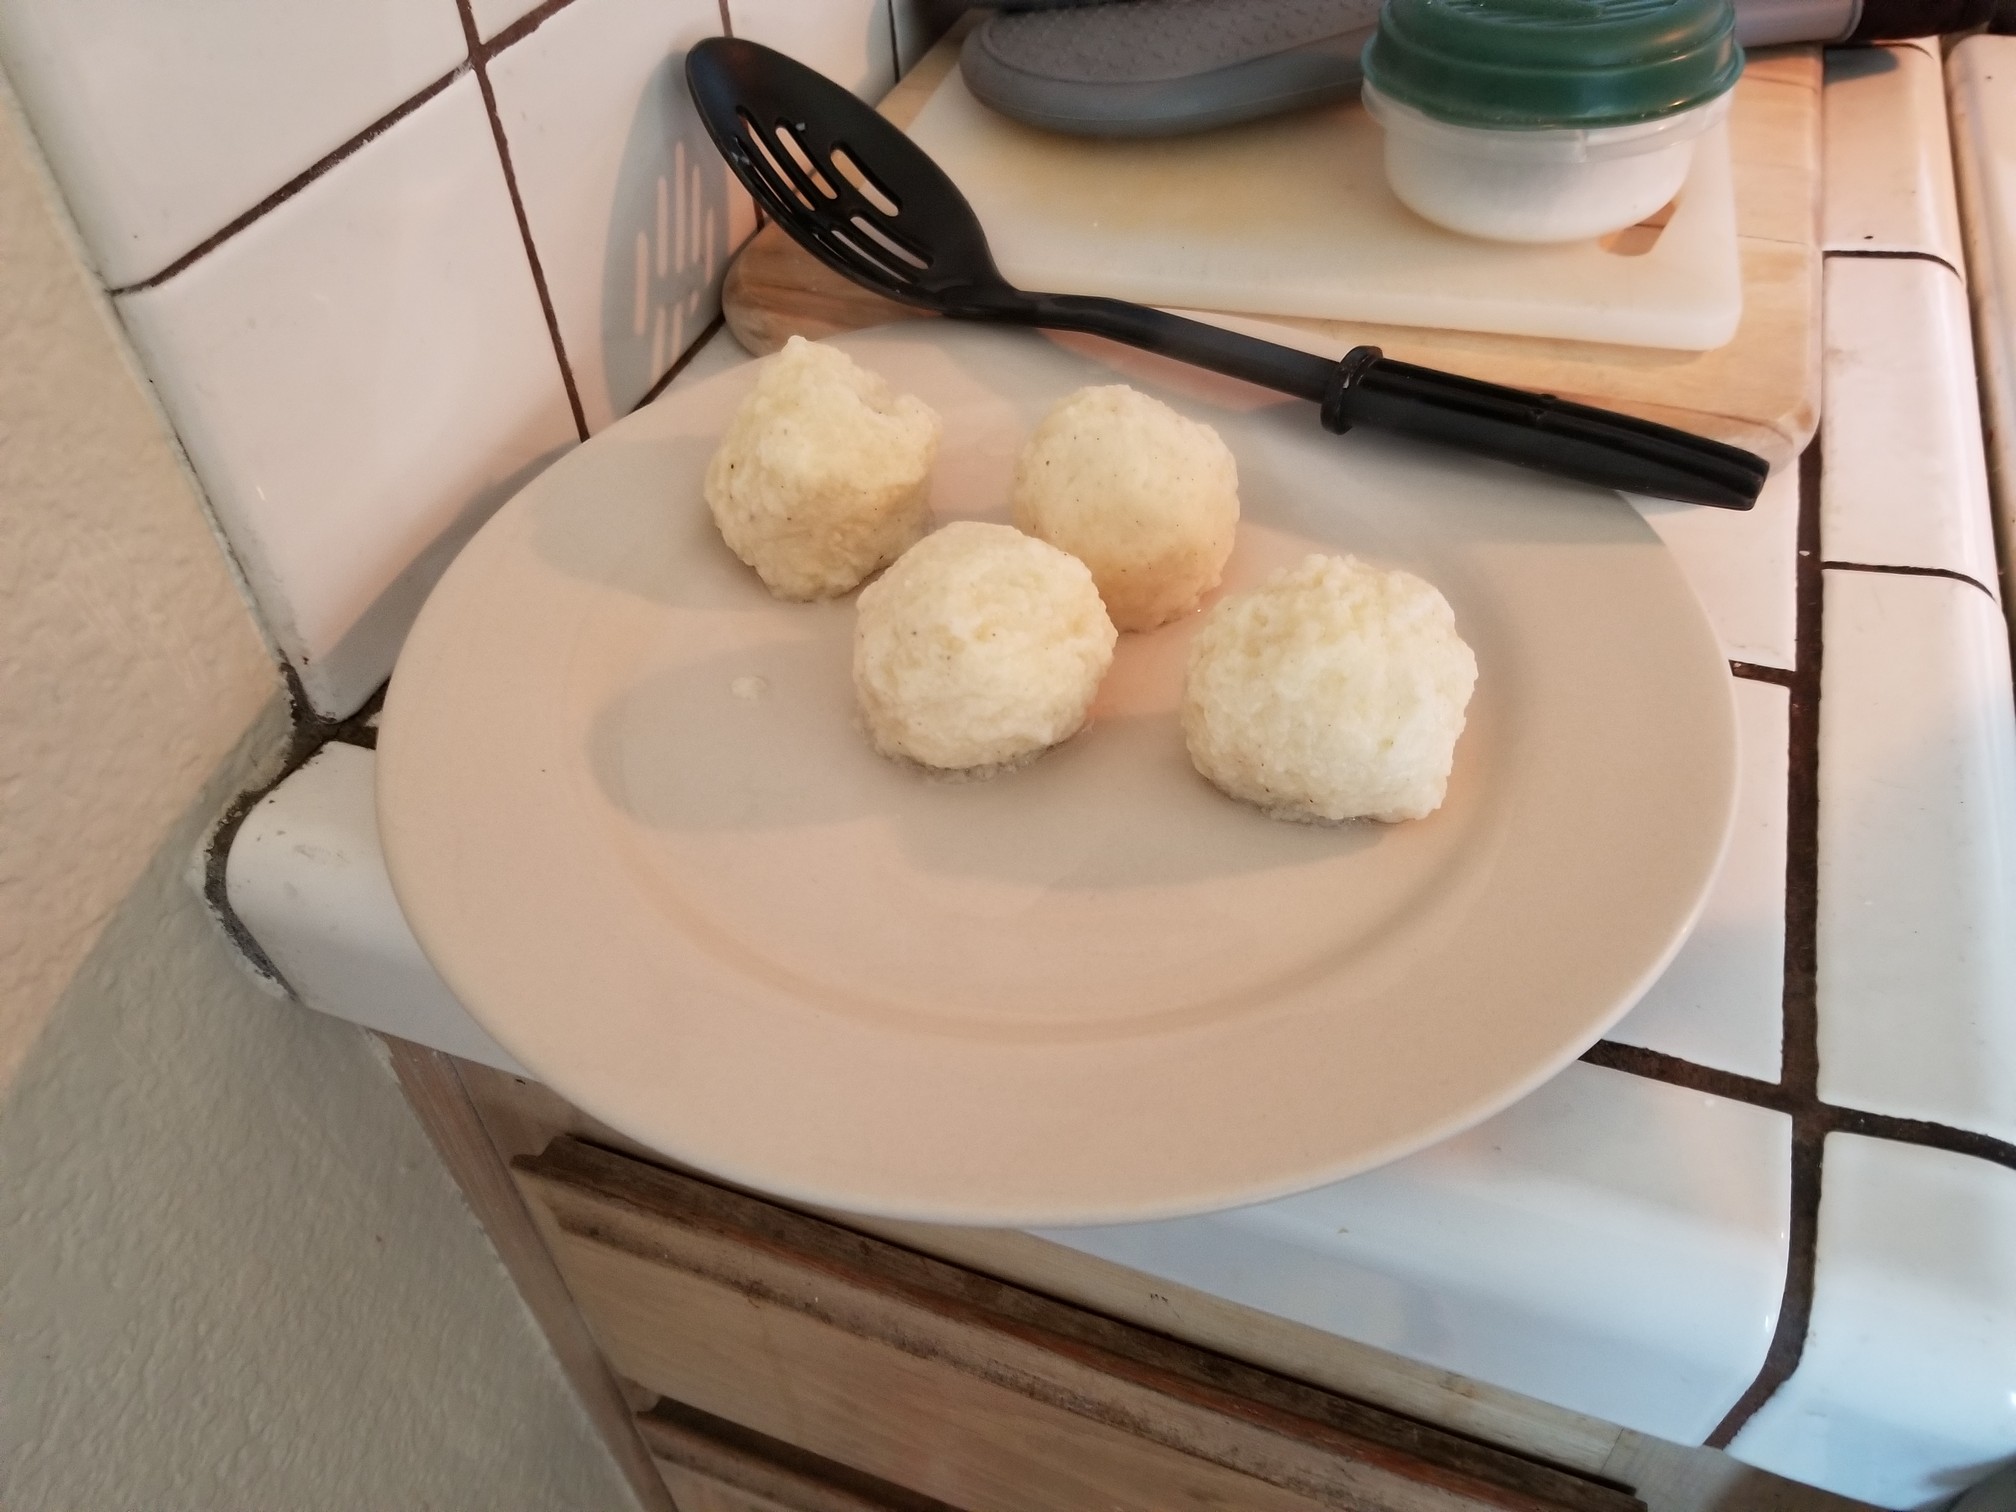
Cover with a damp kitchen towel until all of the dumplings have been cooked.
Finally let’s get to the goddamn eating part!
Take a couple too-tree-four dumplings and put them on a plate. Now grab a slice or two of the cooked sauerbraten and cover everything with some of that intriguing gravy that should be nice and warm and thickened at this point.
Serve.
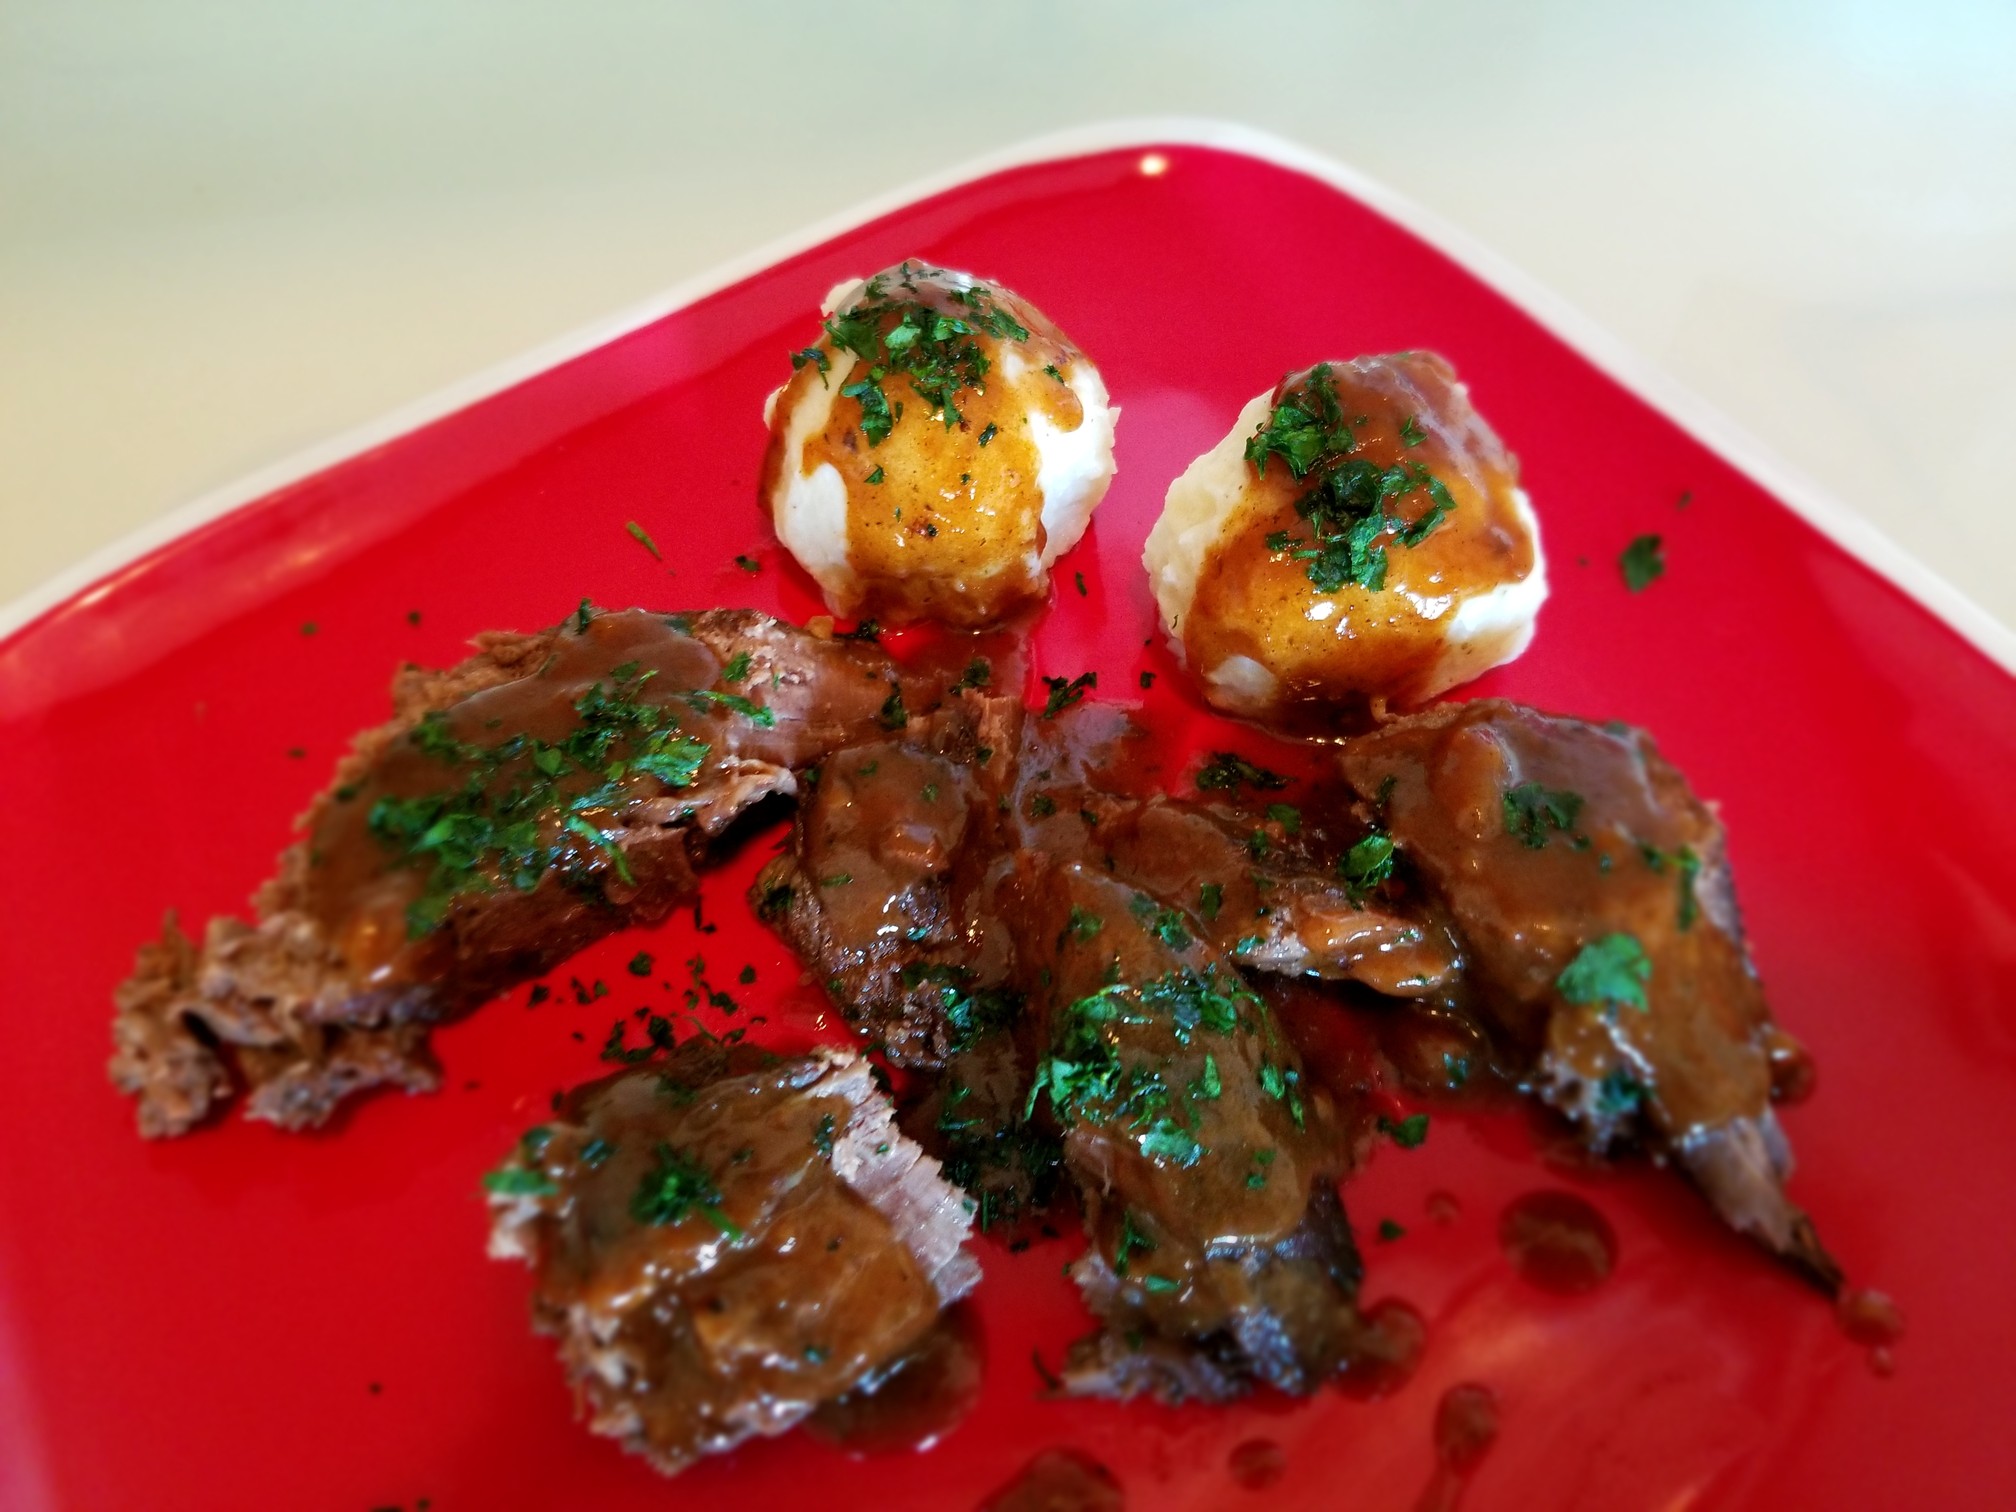
Dear Lord. Don’t strike me dead until I finish this plate and another plate and until I lick both plates clean.
This will blow your mind and slap your taste buds silly. Yes, it’s tart but the sweetened and salty gravy offsets that. You have the fatty richness of the roast, the insane gravy on top and those ridiculously tasty potato dumplings (with an unneeded chewy center here) that are soft, fluffy and so, so damn good.
Get yourself some German beers – while being sure to respect the Reinheitsgebot.*
Get all after this dish. Get some gravy on your shirt. Wipe your face on the tablecloth. Leave your empty beer bottles all over the floor.
Enjoy to the fullest.
Was this worth the 4 day wait and the effort?
Fuck. Yes. It was.
Thanks for reading along and being there.
It’s a pleasure to cook for you.
PEACE!
*German beer purity law


Leave a Reply
You must be logged in to post a comment.