![[DOOR FLIES OPEN]](https://doorfliesopen.com/wp-content/uploads/2015/08/DFO-MC-Patch.png)
As Mr. Yeah Right noted last week, today you get a guest for your Sunday Gravy. And it’s ME!

Being an incredibly eligible bachelor (not confirmed. Yet!), I have managed to feed myself relatively well since I became an adult. Being part Basque, I dare to say that I have a good touch around the kitchen. Unfortunately, my extremely busy work schedule (I work 11 hour days) makes it difficult to cook anything mid-week (although Romonobyl is helping to change that!). So, it’s been difficult getting back into the cooking game and I was glad that Yeah Right offered up a spot in the Sunday Gravy rotation in order for me to dip my toes back in.
One thing I should mention right off the bat: I tend to loosely follow recipes. Sometimes I replace ingredients I don’t like for others I do. Should we call it experimental? Yeah, sure, let’s go with that.
Therefore, I am more interested in cooking techniques than actual recipes themselves. To me, that’s the foundation of a good cook. Which is why I’m so thankful to Yeah Right for introducing us to so many different techniques and styles of cooking. With today’s post, my aim is to introduce alcohol as a cooking ingredient and not just as something you drink before, during, and after the meal.
Now that I’ve got you properly warmed up, let us begin at the beginning.
Some of you are bartenders. You undoubtedly know that people’s definition of a perfect drink varies greatly. Some people say that a drink is bad if you can’t taste the alcohol (weak) while others complain that a drink that is too strong is unpalatable. I find that, in cooking, the key is to bring out the flavors of the beverage you are using while at the same time getting rid of the burn of the alcohol. It’s a sweet spot that is sometimes hard to find.
Finding that sweet spot is a matter of knowing when in the cooking process to add the alcohol and how much to add. Allow me to demonstrate with a few examples.
***
Grilled meats
One of the reasons Yeah Right yielded his spot today was because he was making carne asada and he had already shared his recipe with us. Typically, his marinades work best overnight as that allows the flavors to seep into the meat. What happens, however, when your ex decides to have a barbecue in the afternoon, texts you demanding you provide the meat, and you are just barely waking up at the crack of 10 AM?
If you are hoping to get rewarded for your skills, you head down to the local Mexican carniceria (or your local supermarket with a meat counter) and get yourself some carne asada flap steak:

It should be relatively thin and long with some streaks of fat to give it flavor. The next step is to stick that meat in a plastic bag, add some lemon juice, salt, pepper, and enough beer to cover the meat completely. The choice of beer is where the magic happens.
Let’s step back. The reason this will give you amazing meat on short notice is that lemon juice and the alcohol in beer work together to COOK the meat while it is marinating. Have you ever heard of ceviche? It’s the same concept. This also allows the flavors to be infused into the meat much more quickly so you don’t have to marinate for as long a time as usual.
A typical Mexican carne asada marinade consists of oranges and lemons. It gives a sweet edge to the meat that, when salted correctly, gives a perfect balance. By adding, say, a blood-orange gose

or a wit
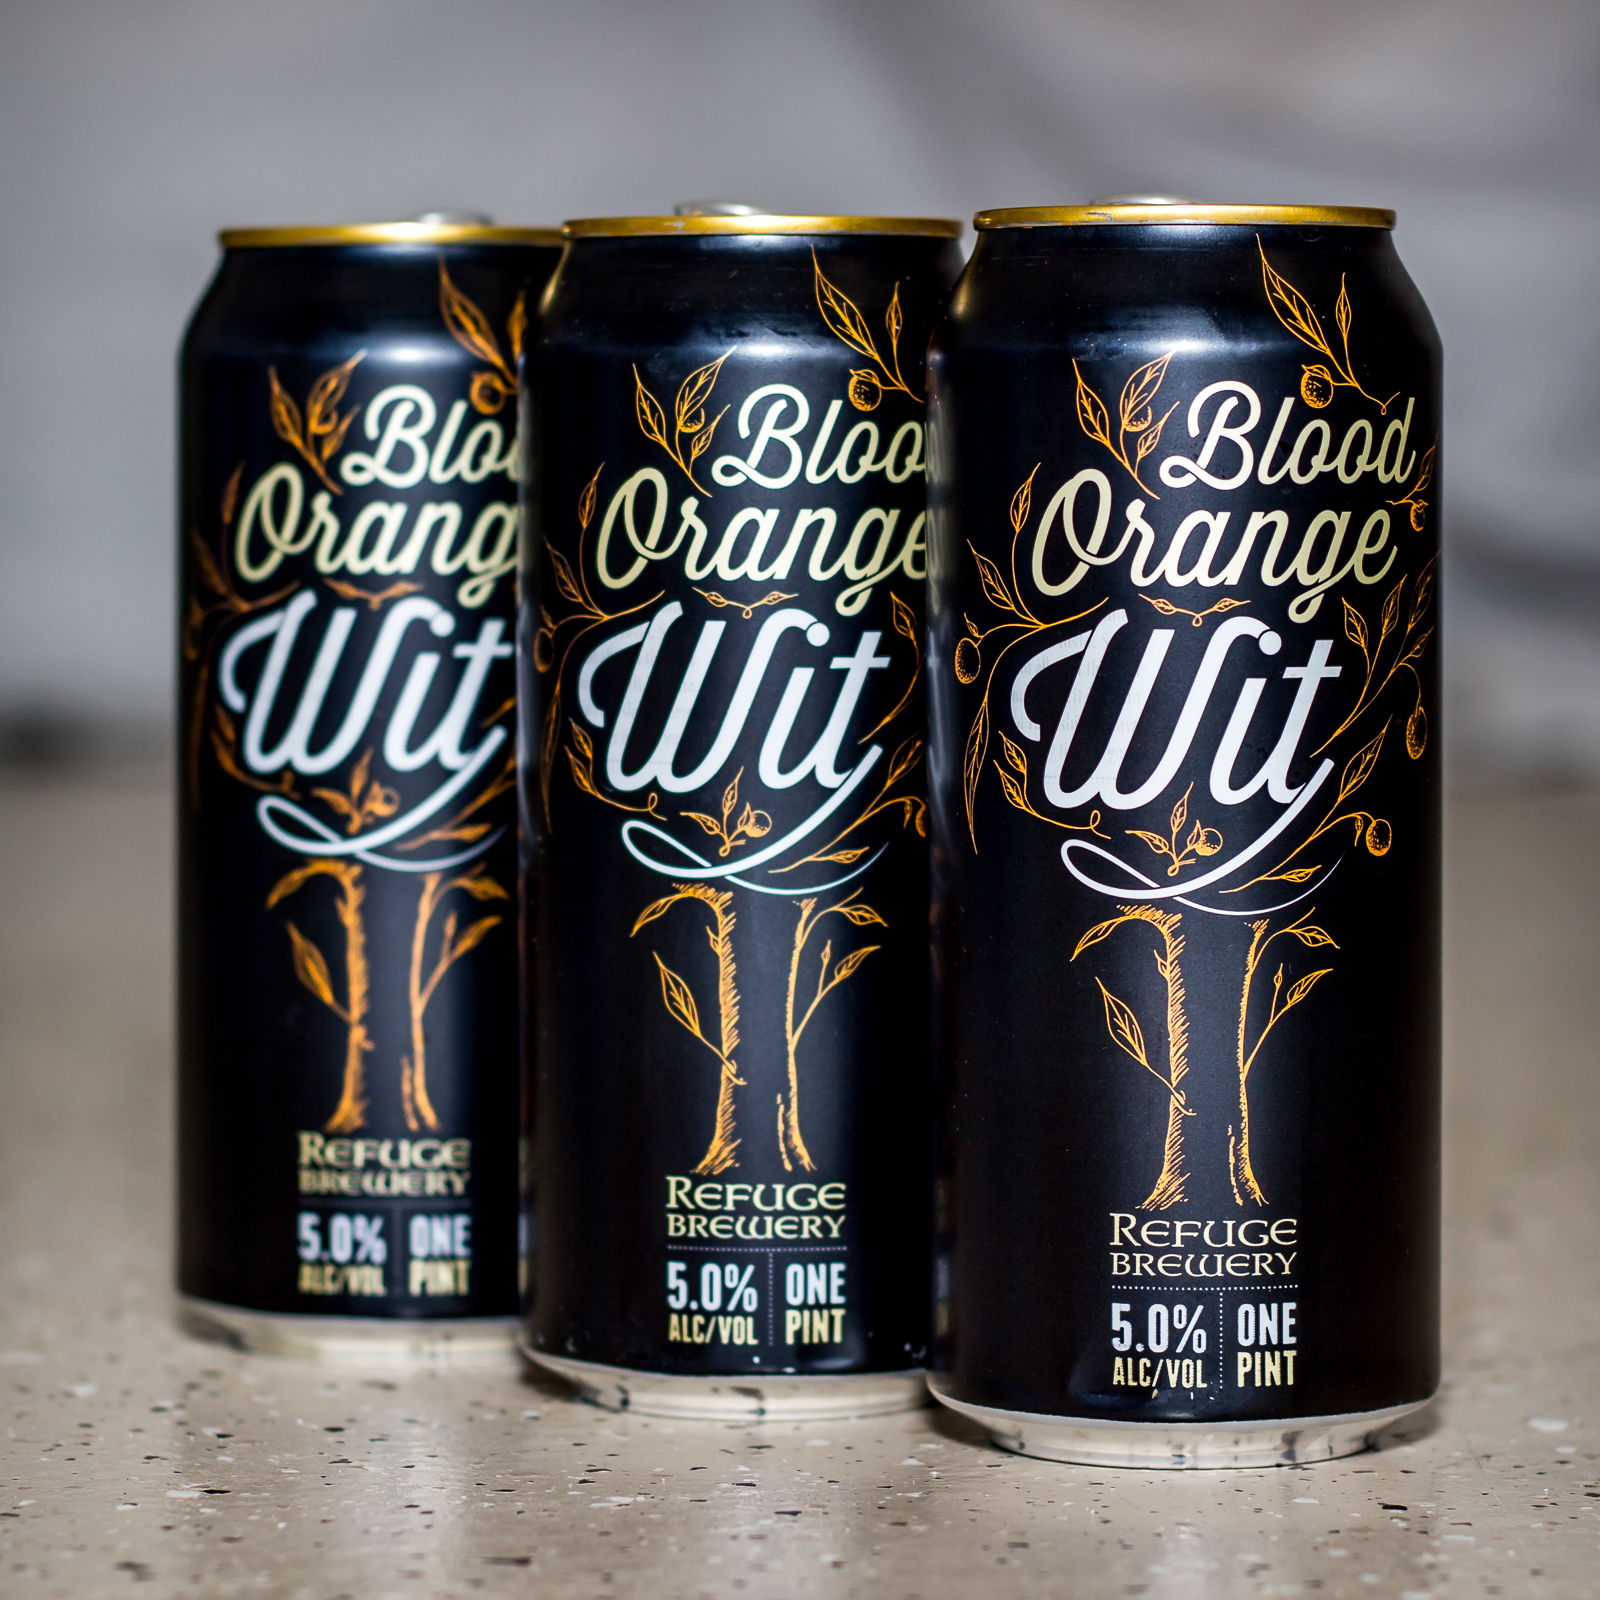
you can impart the sweetness into the meat in a fraction of the time.
As you may realize, the higher the ABV for the beer, the quicker the meat will “cook”, which means the marinating time should be reduced. You don’t want to stick a completely cooked gray piece of meat on the grill. That’s not appetizing for anyone. I find that between 60 and 90 minutes in the fridge works just fine for regular 4-5% ABV beers. Adjust accordingly for the beer you use.
Alternatively, you can choose Corona or Tecate as your marinating beer. I find this is as good a use of those beers as any. Plus, they are usually on sale around this time of year (Cinco de Mayo!) The sweetness won’t go through but, as many have said that these beers are beer-flavored water, the beer flavor (malt, hops, etc.) will be transferred to the meat while the water evaporates. This also makes for a different flavor profile that works well on thinly-sliced meat.
The other advantage of using the alcohol-as-marinade method is that the internal cooking that the alcohol performs shortens the time the meat has to be on the grill. All you have to do is give it a nice brown color, some grill marks, and you are ready to take it off the grill, let it rest for a bit, and then slice it up for some tacos. Be sure to have some avocado on hand to slice/add, a spicy salsa to stick on top, and you are set. Your ex will thank you in the garage later.

***
Before we leave the Mexican barbecue realm, I want to say a word about cebollitas:

If you go to any Mexican’s house for a barbecue, you will see these on the grill or on a plate. I want to give you a technique that I’ve found works great for cooking these.
The key to good cebollitas is for the white bulb at the top to be tender and sweet while the green stems are soft, stringy, and NOT burned. When you place the cebollitas directly on the grill, it is VERY difficult to get the timing right. Here is what you do:
Before grilling, make a boat out of a sheet of aluminum foil, place the cebollitas inside, add salt and pepper, and drizzle some olive oil over them. Mix them up so the oil coats each one. Then, close the boat to make a pouch and stick it on the top level of the grill (using indirect heat) while you are cooking everything else. Check on them periodically. When the stems are nice and soft and the bulb has given up its firmness, it’s time to take them off the pouch and place them directly on the grill.
Splash some beer on them, add some more salt and pepper, and turn them a few times; just enough for the bulbs to tan/brown up a bit and for the stems to get a little less floppy. Be careful not to let the stems go black. You’ll never go back.
It should only be a couple of minutes and then you can take them off, put them on a plate, squeeze a lime or two on top, and let them rest. As soon as they cool enough to eat, people should start eating them. You do not want to let these go cold. If they do, stick them back on the grill to warm up and repeat.
The beer at the end of the cooking process serves to rinse off any excess oil that may still be there and to give the onions a slightly tart taste that counterbalances the sweetness you’ve achieved through the cooking process. Again, it’s the timing that matters. Little cebollitas are super cheap at Mexican markets, so load up and experiment. You’ll soon find the sweet spot that you yourself like.
***
Desserts
By far, the best application of alcohol is in desserts. As you may know, alcohol and sugar are tied at the hip. Yeast eats up sugars and burps out carbon dioxide and alcohol. Conversely, alcoholic beverages always contain sugar. The only difference is how much and that depends on the specific beverage. As the alcohol is cooked off, the sugars in the beverage remain and add sweetness to whatever you are cooking. This works perfectly for things that are meant to be sweet. Namely: Desserts.
Just like Yeah Right gave you his Mother Sauce that you can use for all kinds of applications, I’m going to give you MY Mother Sauce for all dessert applications. It is actually a small piece of a fuller Bread Pudding recipe that I found on the Food Network site, but I didn’t care for the rest of the recipe so I made only the sauce and used it on another recipe I had for bread pudding. As I said at the top, I am not a follower. Here are the ingredients and directions:
Ingredients
1.5 cups heavy cream
2 teaspoons corn starch
2 tablespoons cold water
1/3 cup sugar
1/3 cup bourbon
Directions
Bring the cream to a boil, combine the corn starch and water in a separate bowl, and add the mixture to the boiling cream, stirring constantly. Return to a boil and then reduce the heat and cook, stirring continously, for about 30 seconds. Be careful not to burn the mixture. Add the sugar and bourbon and stir until the sugar is dissolved. Turn the heat off and let it cool to room temperature with an occasional stir.
In the end, it turns into a thick white sauce that you can drizzle over anything, including your ex. Adding the bourbon at the end makes it so you can really taste the bourbon on the sauce. I’ve used Buffalo Trace to good effect. You may also want to try one of the new flavored whiskies that have maple syrup in them or a sweeter alcohol like rum. If you do, cut back on the sugar to a 1/4 cup. If you want to have less of the alcohol burn, after the sugar is dissolved, leave the sauce on simmer for about 20 minutes and then turn off. That will allow more of the alcohol to burn off and make the sauce smoother.
I make a batch and keep the stuff I don’t use in a sealed container in the fridge. I find that it lasts a very long time without going bad thanks to the alcohol. An interesting thing happens as it ages: The flavors transform and it becomes a more full-flavored sauce. Try it a week after you make it and you’ll see what I mean. Not that it stays unused in my fridge that long though. I put that on everything.
Again, this is a Mother Sauce, which means you can play with it and change things around depending on your application. For stuff where the main player is the sauce, such as a bread pudding, you may want to make the alcohol stronger. If you want the sauce to be a complementary player, such as adding it on top of a fruit salad or as a glaze for a flavorful cake, you may want to weaken the alcohol.
Speaking of cakes, how many of you have had Tres Leches cake?
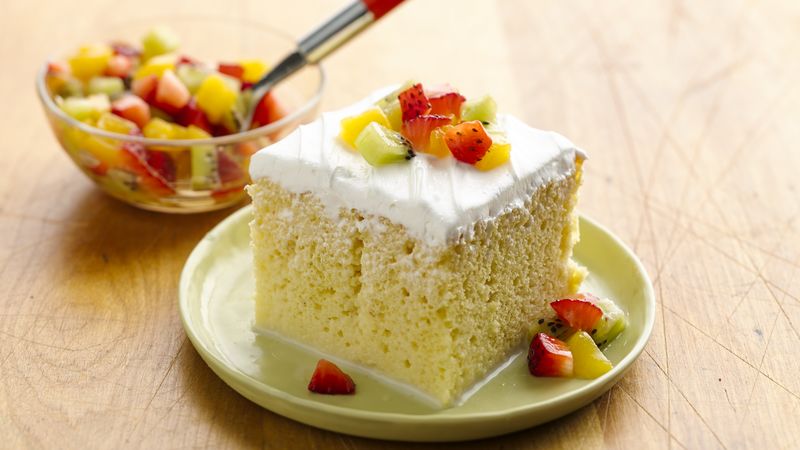
This is a delightfully moist cake that uses condensed milk, evaporated milk, and, depending on the recipe, either heavy cream or whole milk or both. The milks are combined and added at the end of the baking process to give the cake its trademark moistness.
Here is a tip to take it to another level: Use Rompope.

Rompope is an eggnog-like alcoholic drink made with eggs, milk, and vanilla. The alcohol content varies by brand. Santa Clara (on the left in the picture) is a bit stronger at 13% ABV while Coronado (on the right) is a nice 10%. Those are the two main brands you will find in the United States. Again, customize based on your application. If you are making a cake for your little kid’s birthday party, you may want to go with Coronado and substitute one quarter of the whole milk/heavy cream with the rompope. If you are making it for an adult dinner party, go with Santa Clara and substitute half of the amount.
Since we are adding this at the end and there is NO cooking involved, your taste buds will be your guide. Taste the rompope first and decide how much you like it. Then, add accordingly. For the Tres Leches recipe, taste the three milk mixture BEFORE adding it to the cake. Remember that, as with alcoholic mixed drinks, there is a sweet spot and you don’t want the liquor to overwhelm the rest of the ingredients and you also don’t want it to be invisible either. You will end up changing the ratios I listed above to your liking. Which is really all that matters.
I hope this post has served to entice you into experimenting with alcohol in your cooking applications. I find that you can sneak alcohol into pretty much any dish and make it better. Gravies can always use some wine (red for brown gravy, white for white) while fruit reacts well with sugary alcohols like rum, cachaςa, and brandy. Cooking with tequila is a whole other world that probably deserves its own post.
Please share your experiences with alcohol in food in the comments. Thanks to Yeah Right for letting me take over for this week. As the Basques say, eskerrik asco eta agur!


Leave a Reply
You must be logged in to post a comment.